

What To Expect At TSA Security

It’s no secret that TSA security is where air travel can get stressful. In a nutshell, TSA procedures are designed to ensure passenger and airline safety by screening everyone (and all belongings) before they reach the gates. This process usually involves identity verification, security scanning, and a careful inspection of carry-on items.
Understanding TSA rules and flow helps you sidestep common snags—like scrambling for your ID or holding up the line searching for liquids. Most travelers, myself included, find that being familiar with each checkpoint step really does save time and minimize awkward delays. The more you know about what security expects, the sooner you can get through and focus on your flight.
This article will guide you through practical, proven ways to move smoothly through TSA, including what documents are essential, how to pack smart, and what’s likely to draw extra attention. If you want a broader overview of preparing for airports and travel days, you can check out our airport security and travel readiness tips for bigger-picture planning.
Understanding the TSA Screening Process

If you haven’t flown in a while (or it’s your first time in a U.S. airport), the TSA screening process probably seems a bit daunting. The good news? Once you know the basic steps, it’s much easier to navigate, especially during busy periods when lines are long. Having traveled during peak holiday hours, I’ve learned firsthand that understanding these screening steps really helps you stay calm and prepared.
Step-by-Step Security Screening
When you reach the security checkpoint, you’ll show your ID and boarding pass. Next, you’ll place all your belongings—carry-on bags, coat, shoes, belt, and items from your pockets—into bins to go through the X-ray scanner. Laptops and tablets usually need to come out of your bag, as do liquids (limited to containers of 3.4 ounces or less and stowed together in a clear, quart-sized bag). I always keep these items at the top of my bag for quick access. Once your items are on the belt, you’ll move forward for a full-body scan, typically using a millimeter-wave scanner, or a walk-through metal detector depending on the airport.
What Triggers Extra Screening
Extra screening is common if something unusual appears in your bag’s X-ray image, or if the scanner detects a metallic or dense object. Liquids, large electronics, or forgotten items (think water bottles or oversize toiletries) often slow down the process. Random checks also sometimes happen. If you’re selected, a TSA agent may conduct a pat-down or swab your hands and items for trace explosives. This extra step can feel awkward, but it’s routine and usually resolved quickly.
TSA Scanners and Pat-Downs
The standard body scanner you’ll walk through is designed to detect non-metallic threats as well as metal objects. Most travelers simply raise their arms as instructed and are done in seconds. If the scanner flags an area, a quick manual pat-down may follow. TSA staff are trained to do these searches respectfully and professionally. If you ever have a question about what’s happening, don’t hesitate to ask TSA agents for clarification—they deal with all types of questions every day.
For more details or specific travel updates, you can check the TSA’s official screening procedures. If you’re unsure what to pack or what will cause delays, I recommend reviewing our carry-on packing and airport security etiquette guide for practical tips before your next adventure with airtkt.com.
Preparing Your Documents Ahead of Time

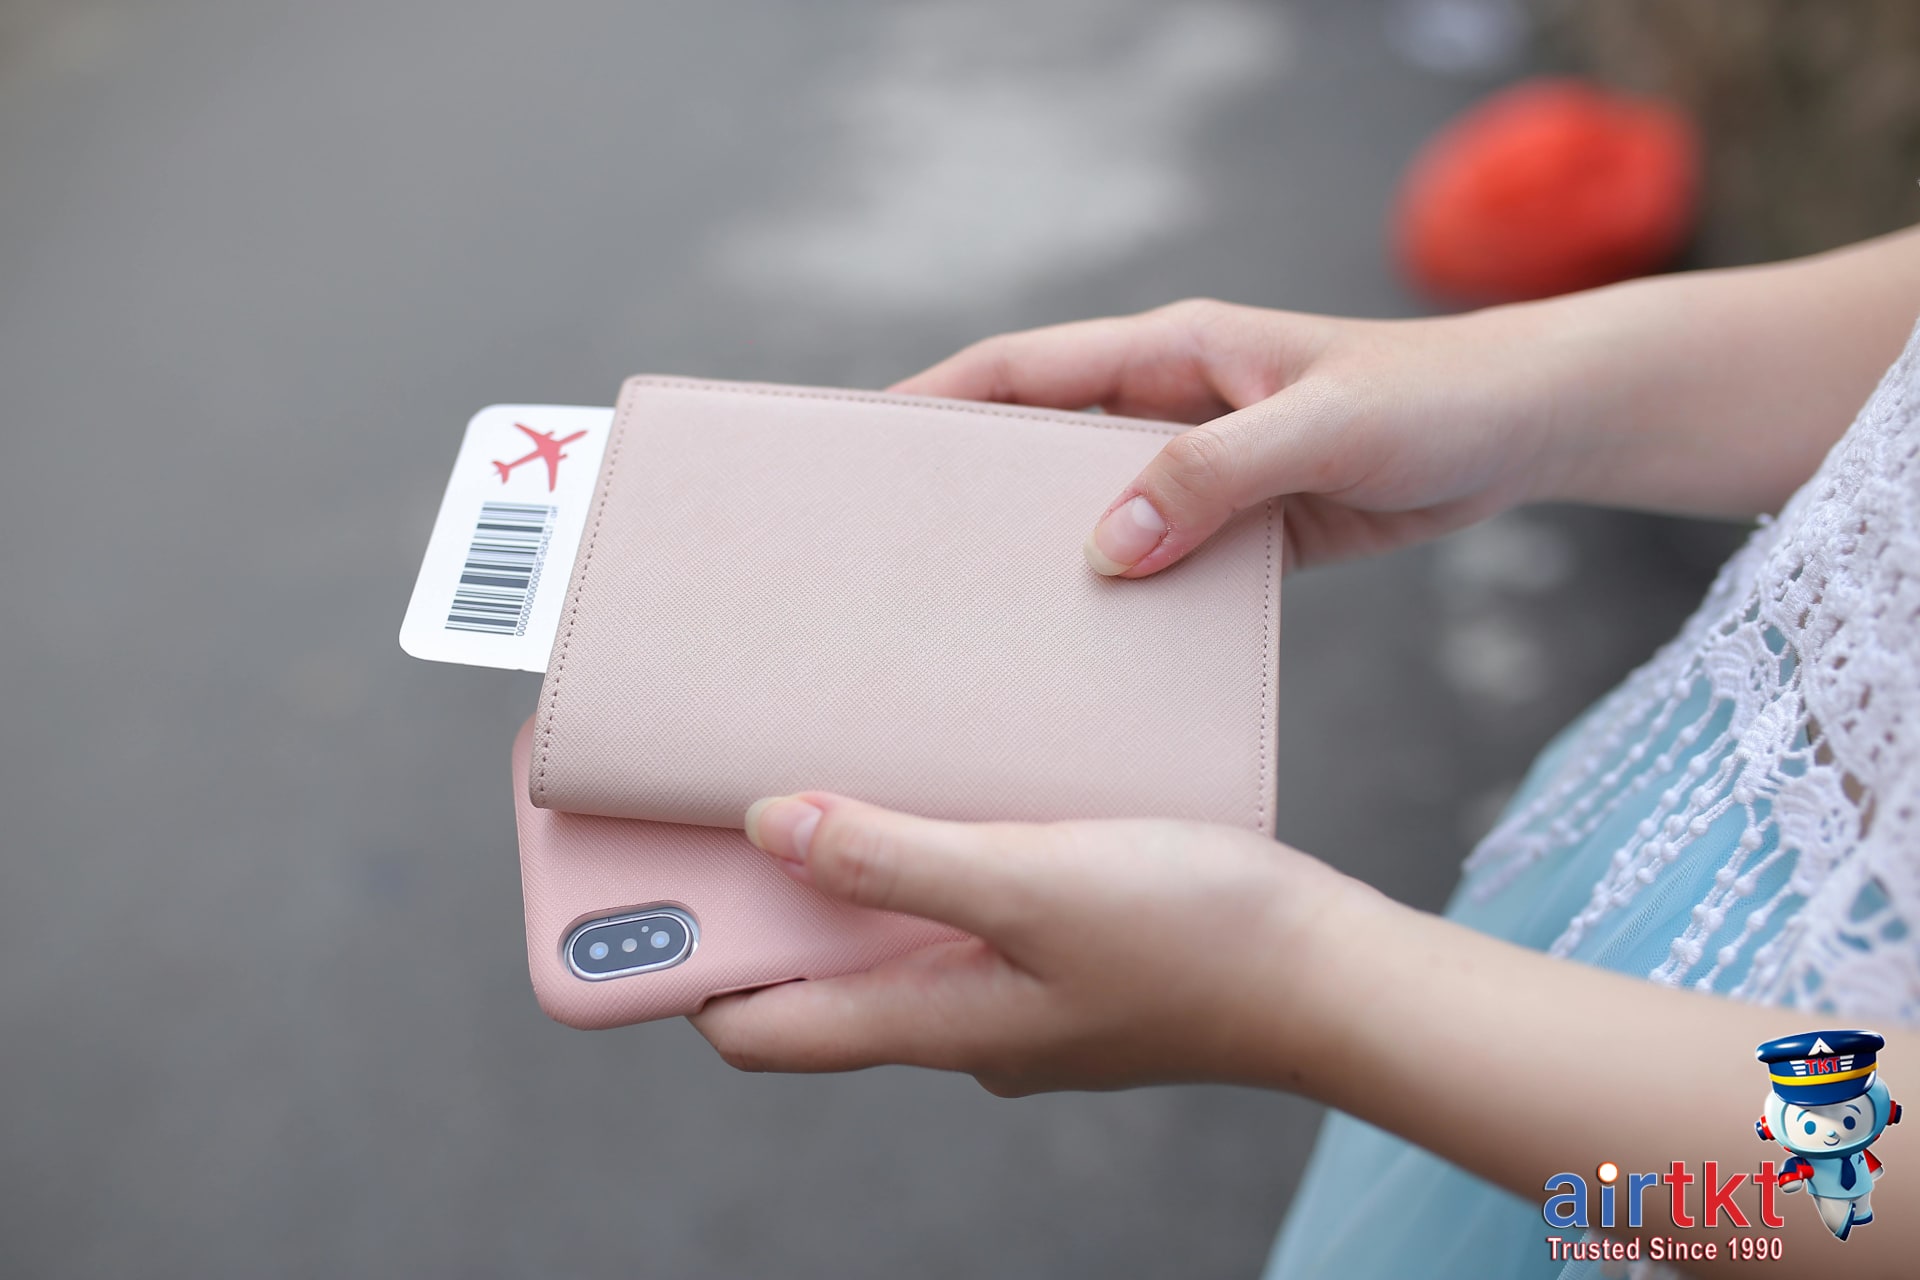
Having all your travel documents ready before you even approach the TSA checkpoint can dramatically reduce your stress—and the glare from passengers behind you. TSA agents will expect you to have a government-issued photo ID, such as a driver’s license or passport, as well as a valid boarding pass. Usually, these are the only two things they’ll ask for at the security line, but it’s a good idea to keep any additional supporting travel papers close at hand if you’re flying internationally or have special requirements.
When it comes to boarding passes, you have a couple of reliable options. Digital boarding passes are convenient and widely accepted, and I usually recommend adding them to your phone’s wallet app for quick access. There’s nothing worse than digging through emails or screenshots while an agent waits. That said, if your device battery is running low or you’re traveling where scanners sometimes act up, a printed backup is always smart.
Your ID should be ready before you step up to the line. I’ve seen too many people hold things up, fumbling with zippers or looking for cards in the bottom of a tote. I like using a slim travel wallet or an organized pocket that separates your ID from everything else—you’ll get through security with fewer delays and less stress. Digital wallets are also helpful for storing mobile versions of documents, but make sure your ID is readily available in physical form, as TSA currently requires it.
If you want to get organized digitally, consider checking out our guide to the best digital travel tools for organizing travel documents. For full details on TSA requirements, their official ID and boarding pass guidelines are worth a read.
Packing Smart: What to Pack and Leave Behind
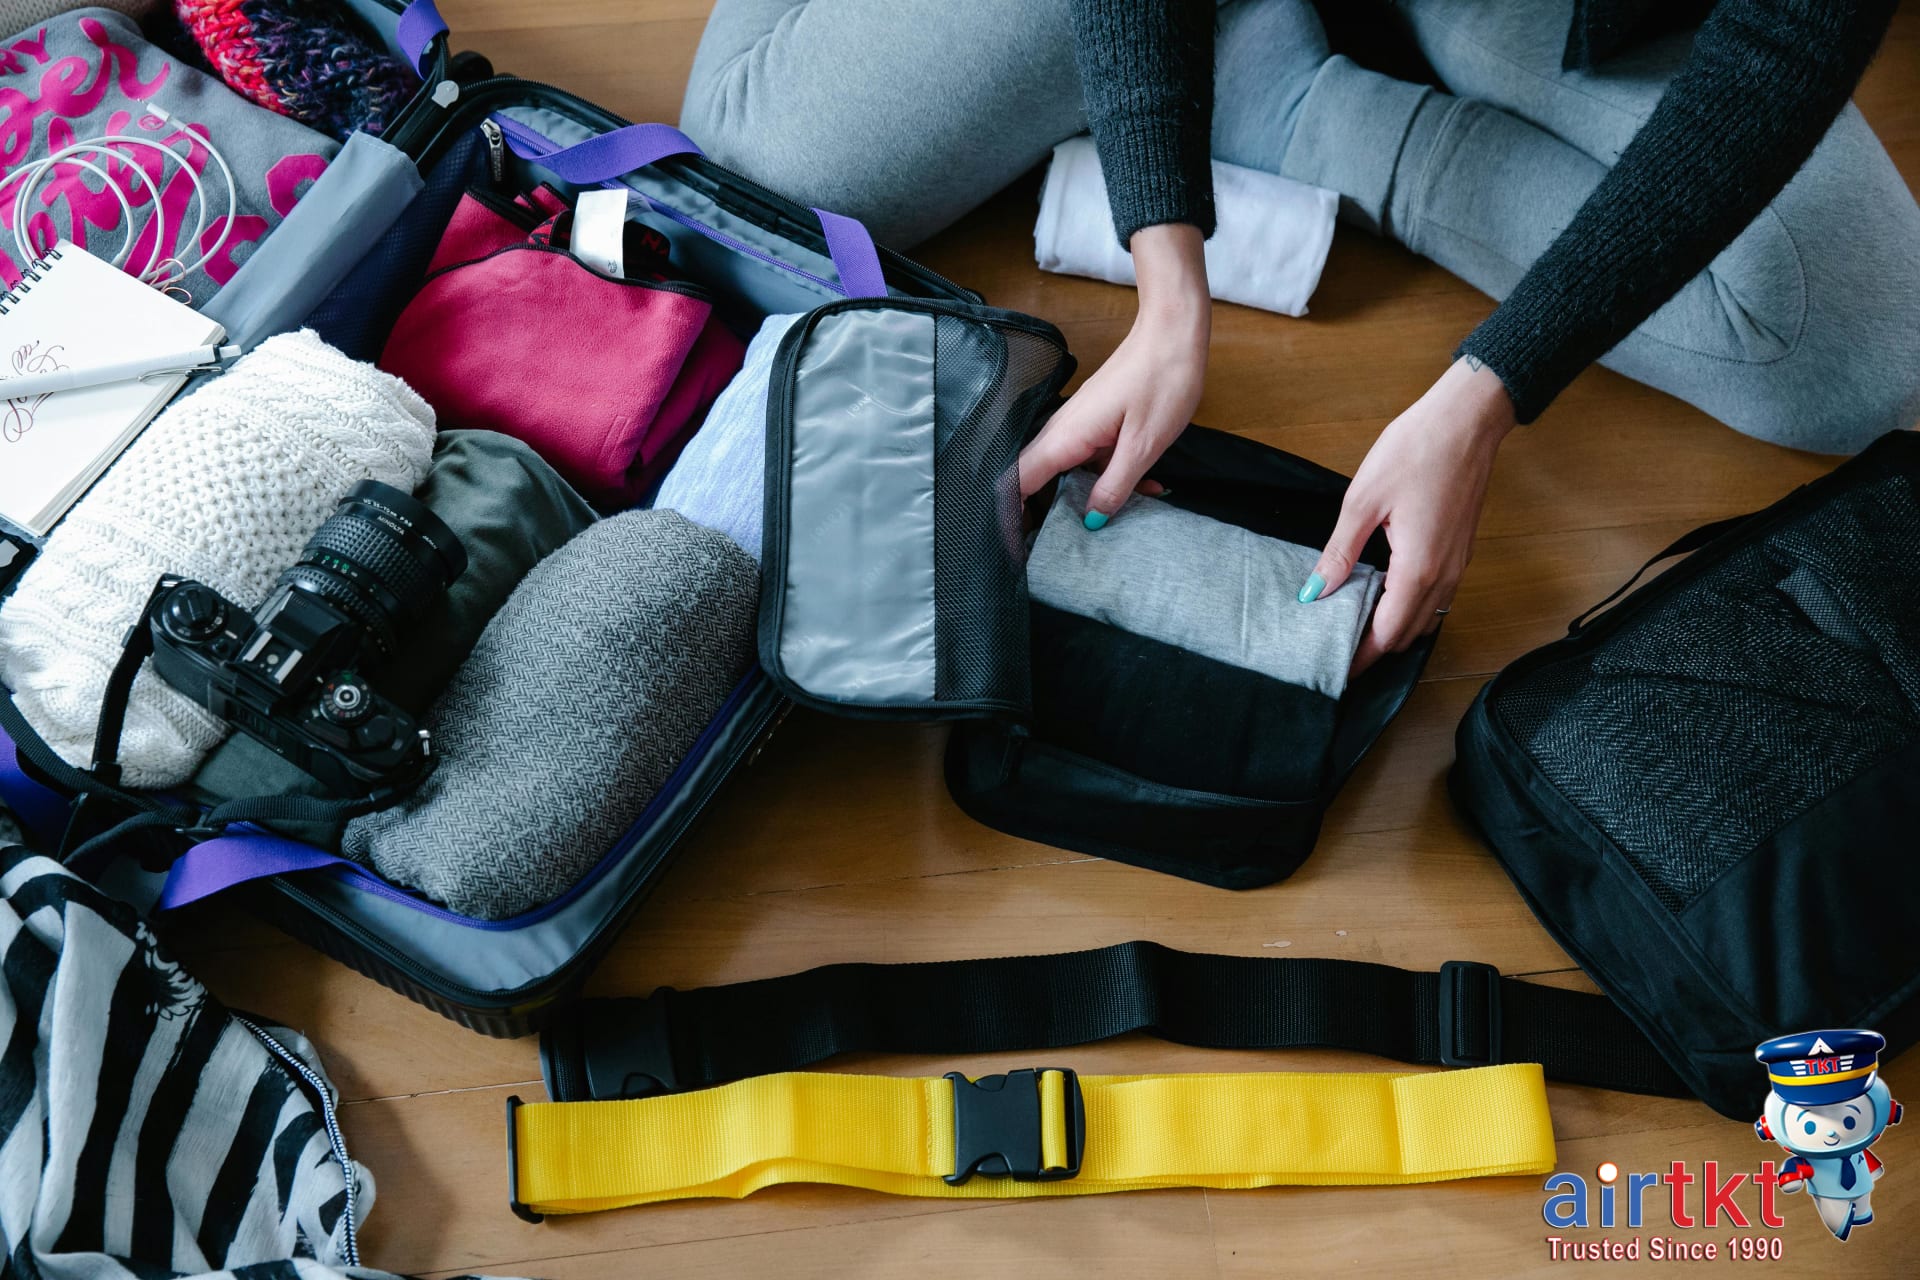
Packing your carry-on might seem straightforward, but a few simple mistakes can lead to unnecessary delays at airport security. The most important thing to remember is the TSA’s 3-1-1 liquids rule: any liquids, gels, or aerosols in your carry-on must be in containers no larger than 3.4 ounces (100ml), all containers must fit comfortably inside a single clear, quart-sized zip-top bag, and each passenger is allowed just one such bag. I once breezed through screening after double-checking my liquids—trust me, it’s worth the extra minute of prep.
When it comes to electronics, keep your laptop, tablet, and chargers handy. You’ll usually need to remove laptops and larger electronics from your bag (unless you have TSA PreCheck, where this is often waived) and place them in a separate bin. I always pack my laptop at the top of my carry-on, so I’m not digging at the checkpoint. Chargers, power banks, and headphones can usually stay in the bag, but know that power banks must be in carry-on baggage (not checked luggage) due to airline regulations.
If you’re not sure what you’re allowed to bring, remember these are some of the most common prohibited items: tools longer than seven inches, sharp objects (including pocketknives and scissors with blades longer than four inches), and any flammable objects like lighters or certain aerosol sprays. Sporting equipment like baseball bats and golf clubs are also banned in carry-ons. For an updated and detailed reference, check out the TSA’s official list of prohibited items—it’s more comprehensive than most packing lists. If you like turning checklists into a routine, you can also view this TSA packing checklist to make sure you catch any details you might miss otherwise.
Following these guidelines will save you time, stress, and possible extra screening. If you’re booking your next trip with airtkt.com, I’d suggest giving your carry-on one last review before you zip it up—especially before international flights where rules may be even stricter.
Clothing Tips for Easy TSA Screening

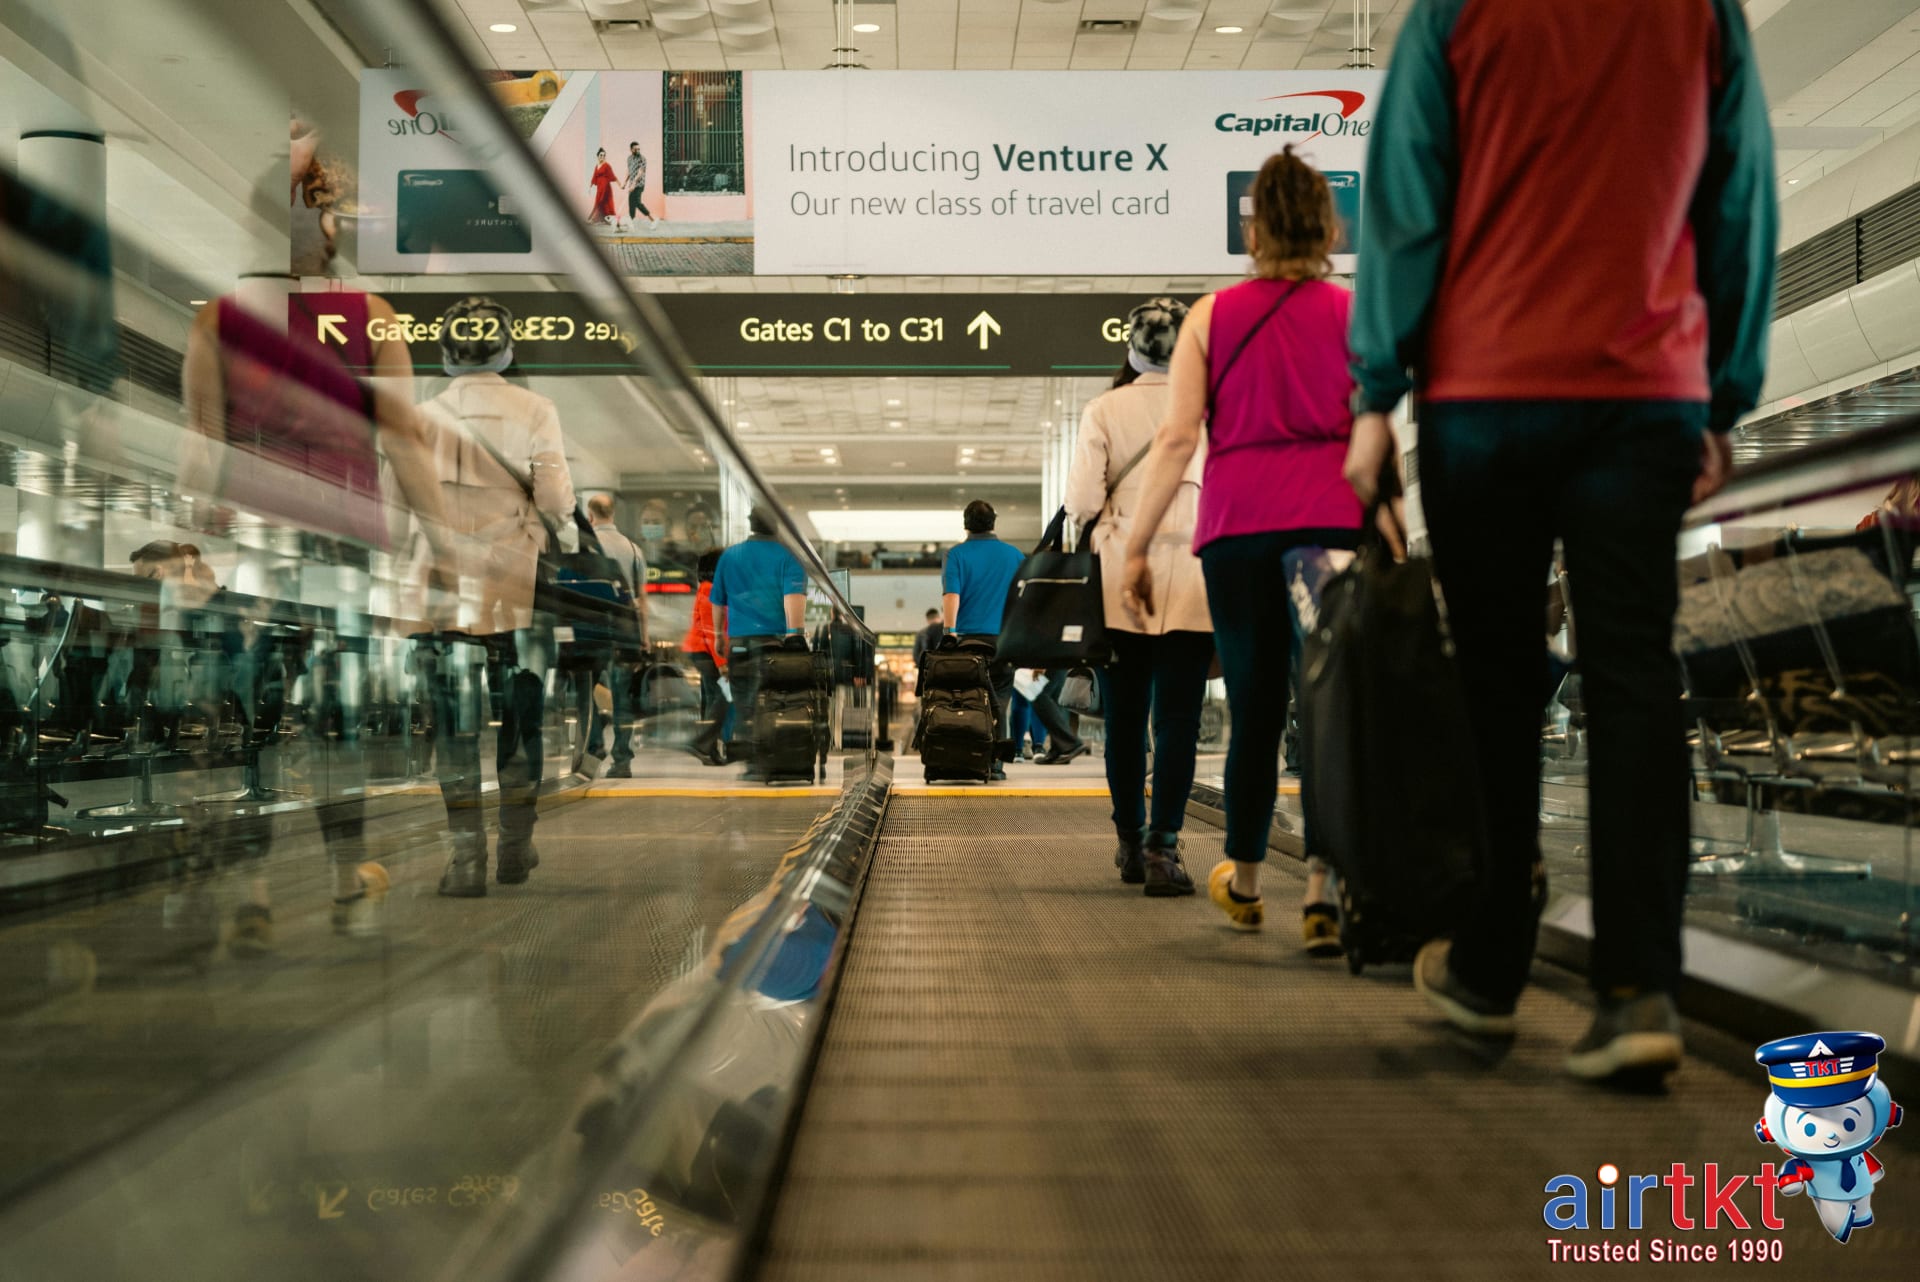
Getting through TSA quickly usually comes down to what you wear. Choosing the right travel outfit can spare you from extra pat-downs, unexpected delays, or awkward moments at the conveyor belt. If you’re like me and want your security experience to be as painless as possible, go for easy-to-remove shoes—slip-ons are my undisputed favorite. Kicking them off and back on in seconds really does speed things up.
Keep metal out of the equation. Avoid heavy belts with large buckles, chunky jewelry, or jackets with metal buttons. These almost always trigger the scanner and force you into extra screening. I usually opt for clothing made from soft, flexible fabrics—think leggings, T-shirts, or casual pullovers—so I can move quickly and comfortably through the checkpoint. If you need a jacket, choose one that’s light and free from metal accents so you can toss it in the bin with minimal fuss.
Things to skip? Anything with decorative zippers, cargo pants with metal snaps, or shoes with lots of lacing high up the ankle. Bulky boots might look stylish, but you’ll regret them as you fumble to get them off (and back on) under pressure. Same goes for lots of small pockets—TSA agents will likely ask you to empty each one, which is a time drain. If you want more pointers on picking the right travel outfit—and even tips on packing less—check out our advice on packing light for easier travel.
Utilizing Known Traveler Programs
Speeding through airport security is every traveler’s dream, especially during busy travel periods. Known Traveler Programs like TSA PreCheck and Global Entry are designed to make that reality, offering faster and less stressful screening for eligible travelers. These trusted traveler programs aren’t limited to frequent flyers—they’re open to any U.S. citizen or lawful permanent resident who meets background requirements. If you dislike the idea of long security lines or unloading your electronics at every checkpoint, these programs can seriously improve your journey.
How Programs Like PreCheck Work
TSA PreCheck is probably the most familiar option. With TSA PreCheck, you get access to dedicated security lanes at participating U.S. airports, and enjoy perks such as keeping your shoes, belt, light jacket, laptop, and compliant liquids in your bag. Global Entry takes it a step further by offering streamlined customs processing when you return to the U.S. from abroad, plus includes TSA PreCheck benefits domestically.
Applying and What It Costs
The application process is fairly simple. For TSA PreCheck, you complete an online application, schedule a background check and fingerprinting appointment, and, once approved, gain speedy screening for five years. The cost is about $78.00 for TSA PreCheck. Global Entry, which requires a more detailed background check and an in-person interview, costs about $100.00 for five years. You can apply through the official TSA PreCheck website or the Global Entry page. I’d recommend choosing TSA PreCheck if you mostly travel within the U.S., but if you travel internationally even occasionally, Global Entry is worth it for the customs benefit alone.
Advantages at Airport Security
Once enrolled, you add your Known Traveler Number to flight bookings, and the benefits kick in automatically. For me, having TSA PreCheck has cut my airport wait times significantly—sometimes I’m at my gate while others are still in line. Global Entry’s expedited kiosks at customs are a relief after a long-haul flight, letting you bypass the usual crowds at passport control. For a detailed look at which program fits your style and travel frequency, check out our guide to comparing Trusted Traveler options.
What to Expect At the Checkpoint

Once you reach the airport security checkpoint, you’ll go through a routine process designed to keep everyone safe. Typically, your journey starts with showing your identification and boarding pass to a TSA agent, who gives your documents a quick look before directing you to the next station. From there, you’ll place your carry-on items, electronics, and shoes (in most cases) in bins for the scanner. Liquids need to be in containers of 3.4 ounces or less and fit in a clear plastic bag. If you’re traveling with special items—like baby formula, medications, or medical equipment—notify the agent up front.
Throughout the process, TSA agents might ask simple questions or give quick instructions. My experience has taught me that staying patient and responding politely, even during the busiest times, helps the process go more smoothly. When I kept calm and listened closely, I actually moved through faster—even though the line was longer than usual. If you’re asked to step aside for a bag check or additional screening, just follow directions and answer questions briefly; delays are usually over quickly when you cooperate.
Airport security lines can feel downright endless during peak hours, so use the time to prep—remove your belt, empty your pockets, and have your electronics ready. If you start to feel frustrated by long waits, just remind yourself that every traveler in line is facing the same hurdles. For more practical advice on how to handle airport stress, check out our guide on traveler etiquette and patience.
Common Mistakes to Avoid at TSA Security

It’s easy to overlook the small stuff when you’re focused on making your flight, but some of the most frequent mistakes at TSA security are completely avoidable. I’ll admit, I’ve been that person who accidentally left a full water bottle in my bag—resulting in a pulled-aside inspection and a scramble to repack under pressure. That little slip taught me just how much time a quick double-check can save.
Liquids and Electronics Left in Bags
Leaving large liquids or electronics like laptops buried in your carry-on is a classic error that almost guarantees additional screening. Even if you know the “3-1-1” rule for liquids, it’s surprisingly common to forget about an old lotion or water bottle hidden in a front pocket. For electronics, removing laptops or tablets and placing them in a separate bin usually speeds things up.
Improper or Missing Documents
If your boarding pass and ID aren’t accessible or aren’t properly displayed, you’ll hold up both yourself and everyone behind you. I try to keep travel documents in an outside pocket or a dedicated wallet—easy to reach, and just as easy to tuck away once you’re through. If you want more help staying organized, check out the airtkt.com TSA security checklist and troubleshooting guide.
Excessive Metal and Accessories
Wearing a lot of jewelry, belts with bulky buckles, or shoes with metal details can set off an alarm. That results in extra screening and slows down the whole process. I usually recommend minimizing metal accessories when possible—save the statement pieces for after you’ve cleared security.
Not Following Instructions Promptly
The TSA staff will direct you step-by-step, and missing an instruction—like not emptying your pockets or forgetting to remove your jacket—means you’ll have to step aside and repeat some steps. Pausing to listen and watch a lane before you go through helps prevent last-minute confusion.
TSA Costs And Airport Budgeting
Travel days bring a line-up of both planned and surprise expenses, especially at airports. Between TSA security, food options that seem to double in price, and getting to your gate, it’s easy to let your budget slip before you even take off. Typical airport costs to keep in mind are TSA PreCheck or CLEAR enrollment fees, snacks and meals, airport transfers, and activities or lounges you might use during a layover.
For those who travel often, signing up for TSA PreCheck or a similar trusted traveler program can be a budget-smart move. While it does cost up front (currently around $78.00 for 5 years), the time (and stress) you save can mean fewer missed flights—and less money spent on last-minute rebooking. My personal budgeting trick is to set aside airport cash in advance, split between food, transport, and a “just in case” fund for extra fees. It keeps surprises in check and helps avoid unnecessary ATM withdrawals at airport kiosks, which often come with extra fees.
Budgeting Strategies For Airport Costs
- Weigh the TSA PreCheck upfront fee against how often you fly—frequent travelers often find it worthwhile quickly.
- Bring a reusable water bottle (emptied before security), then fill it up inside rather than buying pricey bottled water after the checkpoint.
- Research affordable airport dining and transit options ahead of time. I usually look for a guide like airtkt.com’s airport travel and budgeting articles to compare meal and transport costs.
- Use digital boarding passes and parking apps to avoid surprise printing or shuttle fees at the airport.
Typical Airport Travel Budget Table
| Accommodation | Food | Transport | Activities | |
|---|---|---|---|---|
| Budget | $45.00 | $14.00 | $12.00 | $0.00 |
| Mid-range | $80.00 | $27.00 | $22.00 | $25.00 |
| Luxury | $160.00 | $41.00 | $51.00 | $65.00 |
These estimates factor in an overnight airport hotel, a basic meal or snack, public or private transfers, and—for mid-range or luxury—lounges or other airport activities. If you only need a quick layover or plan to dine before arriving, you might spend less, but it’s good to set expectations.
TSA Security FAQs Answered Clearly
- What can I bring in my carry-on bag for TSA screening?
You’re allowed to bring liquids, gels, and aerosols in containers of 3.4 ounces or less, all packed into a single quart-sized zip-top bag. Medications and baby food are exceptions, but should be declared. Electronics larger than a cellphone usually need to be removed for screening at most airports.
- How early should I arrive for TSA security at the airport?
Most travelers should arrive at least two hours before a domestic flight and three hours before an international flight. This helps account for security lines, check-in, and unexpected delays. Busy travel periods or larger airports may require even more time, especially if you’re checking bags.
- What is the TSA PreCheck program and is it worth it?
TSA PreCheck is a trusted traveler program that allows pre-approved passengers to use expedited security lines. You don’t remove shoes, belts, or light jackets, and electronics stay in your bag. It’s available for an application fee and can save time during frequent travel, especially at larger airports.
- What should I do if TSA finds a prohibited item?
If TSA discovers a prohibited item in your carry-on, you’ll typically need to return to the ticketing area to hand it off or discard it. Some airports offer mail-back options for small items. It’s best to double-check the TSA Prohibited Items List online before packing to avoid surprises.
- Why do TSA lines sometimes move slowly?
Security lines can be slow because of peak travel times, increased screenings, or travelers needing extra assistance. Laptops, shoes, and oversized liquids all add time. You can help keep things moving by being ready: remove electronics and liquids from your bag in advance, and wear slip-on shoes when possible.
- Can I bring food through TSA checkpoints?
Solid foods like sandwiches, fruit, and snacks are generally allowed in both carry-ons and personal items. Liquids—like yogurt or soup—are subject to the 3.4-ounce rule. Food items may need extra screening, so packing them at the top of your bag can make the process faster at security checkpoints.
- How do I handle TSA security if I have a medical condition?
If you have medical devices or need to carry medication, inform the TSA officer before screening. Medical liquids and supplies are allowed but will be inspected. Documentation is not required, but having a doctor’s note can help. Check the TSA’s official medical traveler guidance for the most up-to-date advice.
Conclusion: Mastering TSA Security Checks
Making your way through TSA checkpoints doesn’t have to be a stress test. As a traveler, I’ve found that a calm attitude and a little prep work make all the difference, especially when you factor in those early morning flights or family trips with extra baggage. Remember, arriving with organized documents, liquids pre-bagged, electronics easily accessible, and a relaxed mindset turns the security line from a hassle into a simple step toward your destination.
I recommend treating TSA prep as a dedicated part of your trip planning—right up there with booking your flight and packing your bag. Reviewing these key tips: know what’s allowed in your carry-on, wear simple shoes, keep your ID handy, and double-check prohibited items before you leave home. It’s about confidently moving through each step, keeping surprises to a minimum.
For more streamlined trip planning and to cut down on last-minute travel stress, let airtkt.com help you find affordable flights, hotels, and more—all in one place. Booking in advance can free up time the night before your flight so you can focus on TSA prep instead of scrambling for reservations.
With a bit of prep and the right resources, you’ll breeze through security and get on with the journey you’ve planned. Safe travels!