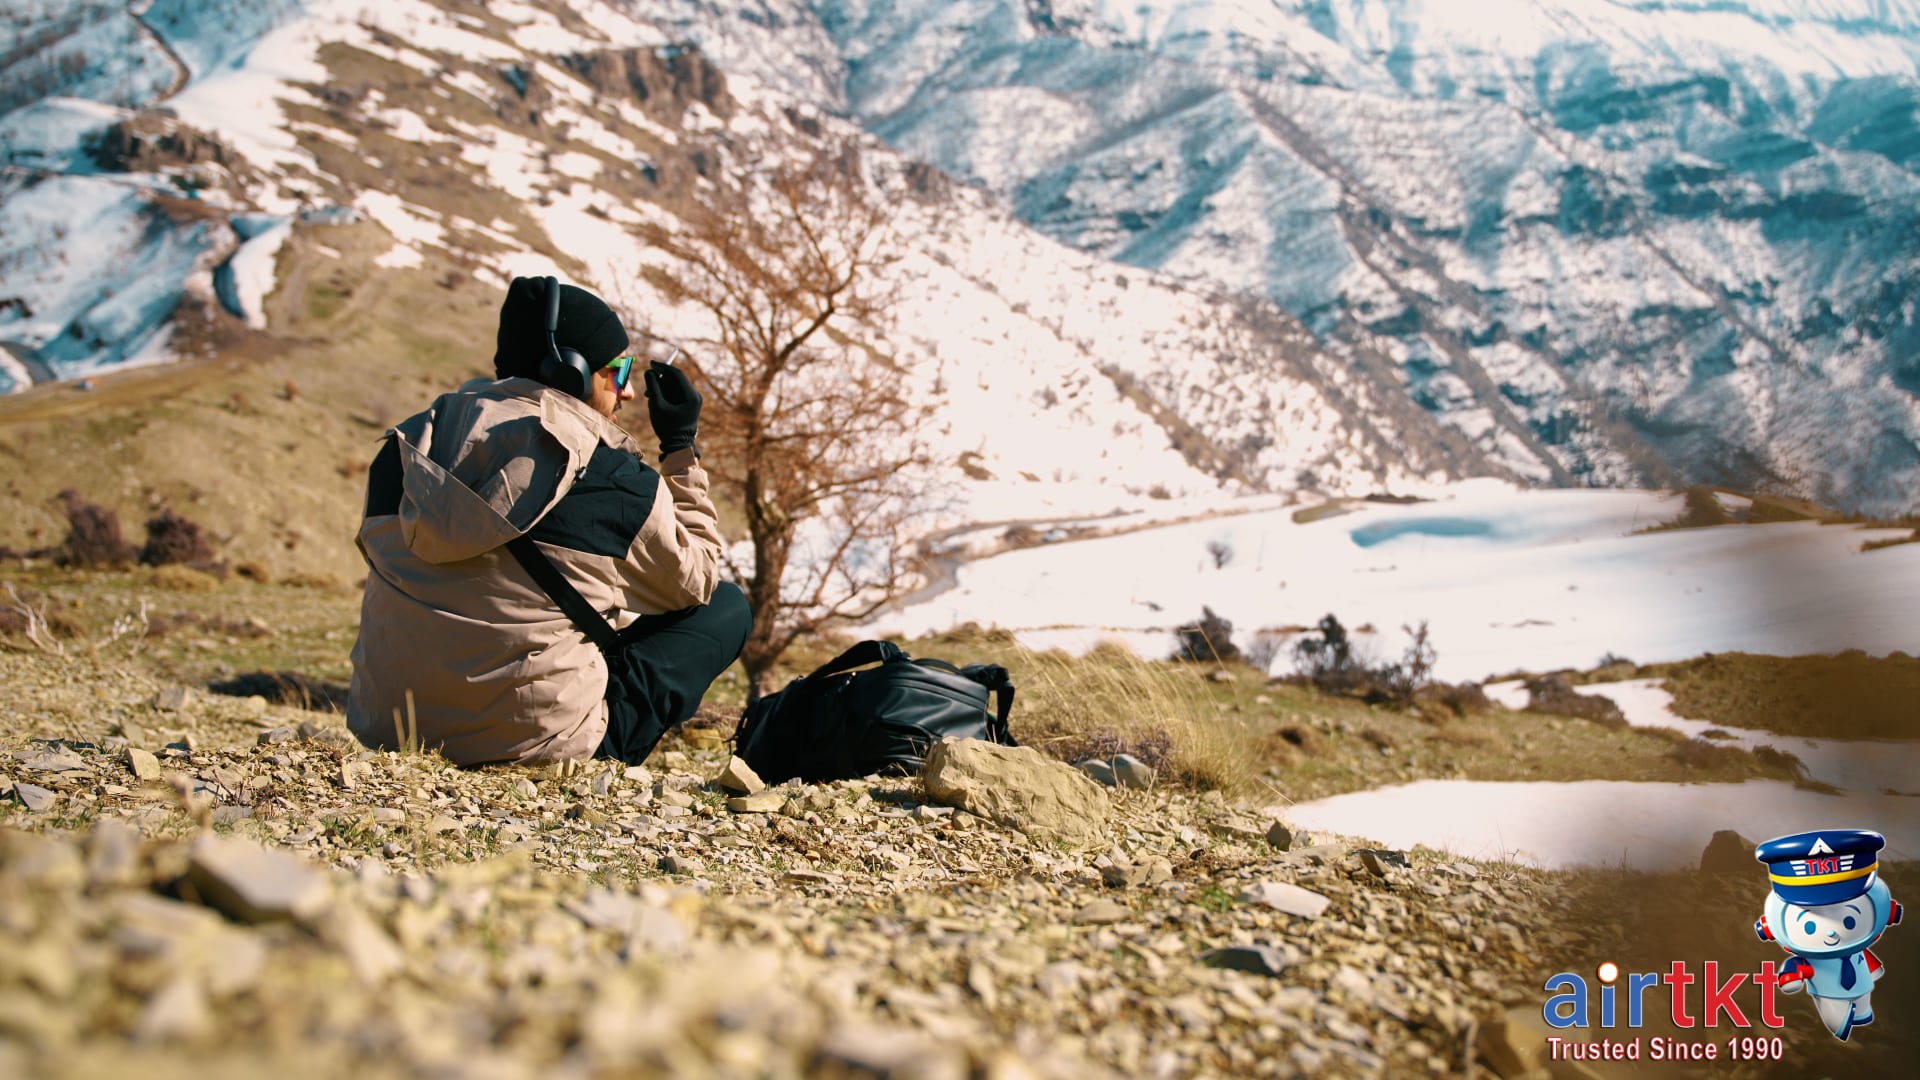
Mastering Winter Travel Layering Basics

If you want to stay warm and dry while traveling to cold-weather destinations, it all starts with understanding how to layer properly. Layering isn’t just about piling on every sweater you can find—it’s about building a system with three essential pieces: a base layer, a mid layer, and an outer layer. Each one serves a unique role when you’re packing for chilly climates, and learning how to combine them makes all the difference when you step into winter weather.
The Three Key Winter Layers
Base Layer: This is your next-to-skin foundation, designed for moisture management. Look for fabrics like merino wool or synthetic blends (such as polyester), both recommended by outdoor gear brands and apparel experts like REI and Patagonia. Merino is naturally odor-resistant and keeps you warm even when damp, while synthetics excel at pulling sweat away and drying quickly. Personally, I always start my packing list with quality merino base layers—they’ve kept me comfortable through more than one icy airport layover.
Mid Layer: The mid layer provides insulation by trapping heat close to your body. Fleece is a popular and lightweight choice: it’s soft, easy to pack, and keeps you warm even when the temperature drops in the evenings. Alternatives include down or synthetic insulated jackets—great for colder conditions when you need extra warmth but still want to avoid feeling bulky beneath your shell.
Outer Layer: The final piece is your protection from wind, rain, and snow. Think waterproof (or at least water-resistant) jackets made with breathable fabrics to vent excess moisture. Shells with pit-zips or venting panels add adjustability, which is crucial if you’re moving between indoor and outdoor environments. This top layer shields your carefully chosen inner pieces so their insulation and wicking powers keep operating at full strength.
Fabric Choices: Why They Matter
Merino wool stands out for its warmth, breathability, and ability to regulate temperature without getting itchy. Fleece is loved for its comfort and packability, ideal for tossing in your day bag just in case. Synthetics, like polyester or blended performance fibers, are favorites for fast drying and affordability. According to guidelines from reputable outdoor apparel brands, cotton is best avoided in cold, wet conditions because it traps moisture and loses insulation when damp.
Building your outfits layer by layer is the most effective way to adapt throughout a trip, whether you’re exploring the snowy streets of Montreal or waiting for a shuttle in Patagonia. For a more detailed checklist on what to bring, I recommend reading our airtkt.com guide to packing for cold destinations, which covers specific items and packing tips.
Selecting Essential Winter Gear

Packing for winter travel means thinking beyond just keeping warm—it’s about choosing gear that keeps you dry, comfortable, and prepared for the elements. According to general expert consensus, starting with the right essentials makes a world of difference when facing snow, wind, or fluctuating temperatures. I never forget my insulated boots on snowy trips because they truly are a game-changer for keeping my feet warm and dry all day.
Insulated Waterproof Boots Matter
Good boots do more than keep out the cold: they also provide stability on ice and slush. I’d look for boots that combine solid insulation with a waterproof outer shell. Breathable linings help avoid sweaty feet, while a rugged, non-slip sole reduces the risk of slipping on slick sidewalks. Lightweight designs also cut down on fatigue if you’re exploring a city or hiking outdoors.
Gloves That Block Wind and Wet
Frozen fingers can ruin any winter day. Reliable gloves should be both insulated and windproof. Waterproof exteriors shield your hands during snowball fights or rainy spells, and touchscreen-compatible tips make checking your phone much easier outdoors. If space is tight, I usually grab a lightweight, compressible pair but always check that they’re still warm enough for your destination.
Hats and Neck Gaiters Keep Heat In
Since so much heat escapes from your head and neck, packing a thermal hat is common sense. Wool or synthetic knits trap warmth without feeling heavy. For neck gaiters, I’d choose stretchy, moisture-wicking fabrics that you can pull over your face if the wind kicks up. These small items fit easily into any day pack and make a huge comfort difference.
Other Smart Gear Choices
Don’t forget layers—thin thermal shirts, fleece jackets, and waterproof outer shells let you adapt to changing weather. Prioritize gear that’s lightweight but durable, so you’re ready for everything from snowy sidewalks to damp mountain trails. For more tips on smart packing, airtkt.com offers useful recommendations for winter travel gear and packing checklists.
Efficient Space-Saving Packing Strategies
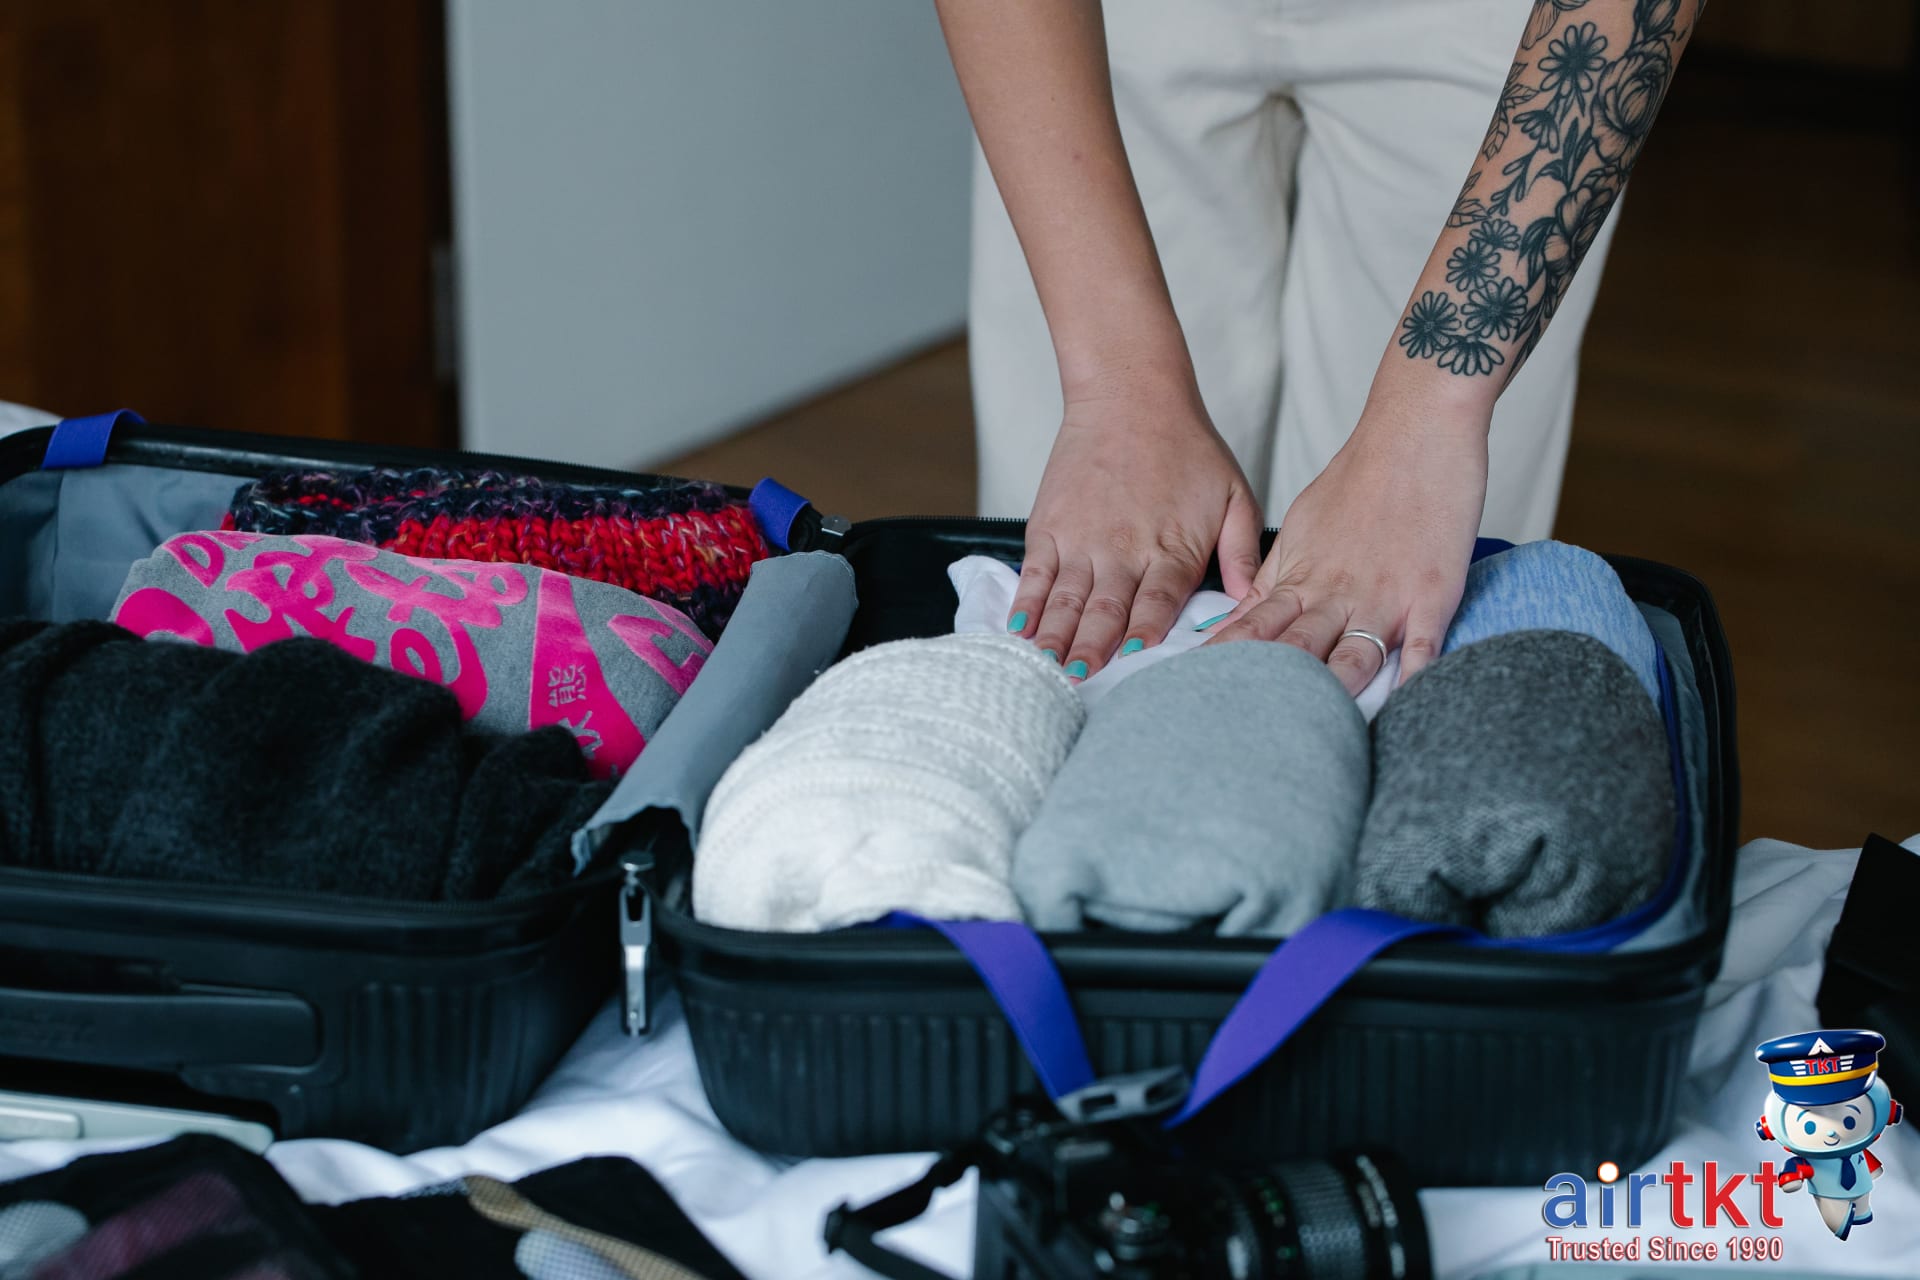
Packing for a winter trip doesn’t have to mean wrestling with an overstuffed suitcase. The right techniques can help you fit bulky coats and sweaters without sacrificing space for souvenirs or daily essentials. In my experience, rolling clothes not only saves space but also helps reduce wrinkles—especially with thick winter layers. Experts such as travel blogger Ali Garland and packing guru Rick Steves both advocate for rolling as a way to keep garments more compact than traditional folding.
Another tip I rely on, no matter the destination, is using packing cubes. They’re a lifesaver for keeping layers, socks, and accessories organized and compressed. I find that with cubes, it’s much easier to locate that extra pair of wool socks quickly or grab my gloves from a designated spot. Compression bags are also an option if you’re packing big coats or snow pants—just be careful not to exceed your luggage’s weight limit, since these bags can tempt you to overpack.
Choose Luggage With Winter Features
When you’re traveling with heavy or bulky gear, your suitcase matters almost as much as your packing method. I’d recommend looking for luggage that’s sturdy, with durable wheels and reinforced zippers to handle the extra heft of boots and jackets. Extra compartments and expandable sections let you organize wet weather gear separately from your clean clothes, which can be a major plus in snowy or rainy destinations. If you need more tips on choosing the right suitcase for winter conditions, check out our advice on selecting the best luggage for cold-weather travel.
For travelers booking flights on airtkt.com, lightweight, hard-sided suitcases blend protection with capacity—just what you want when bracing for winter’s unpredictable baggage demands.
Choosing the Right Winter Fabrics
When temperatures drop, your comfort and safety rely on the fabrics you wear. Not all materials perform the same in cold weather, and I’ve found that knowing the details behind each option can make a real difference, especially during outdoor travel. Here’s a breakdown to help you choose wisely for your next winter trip.
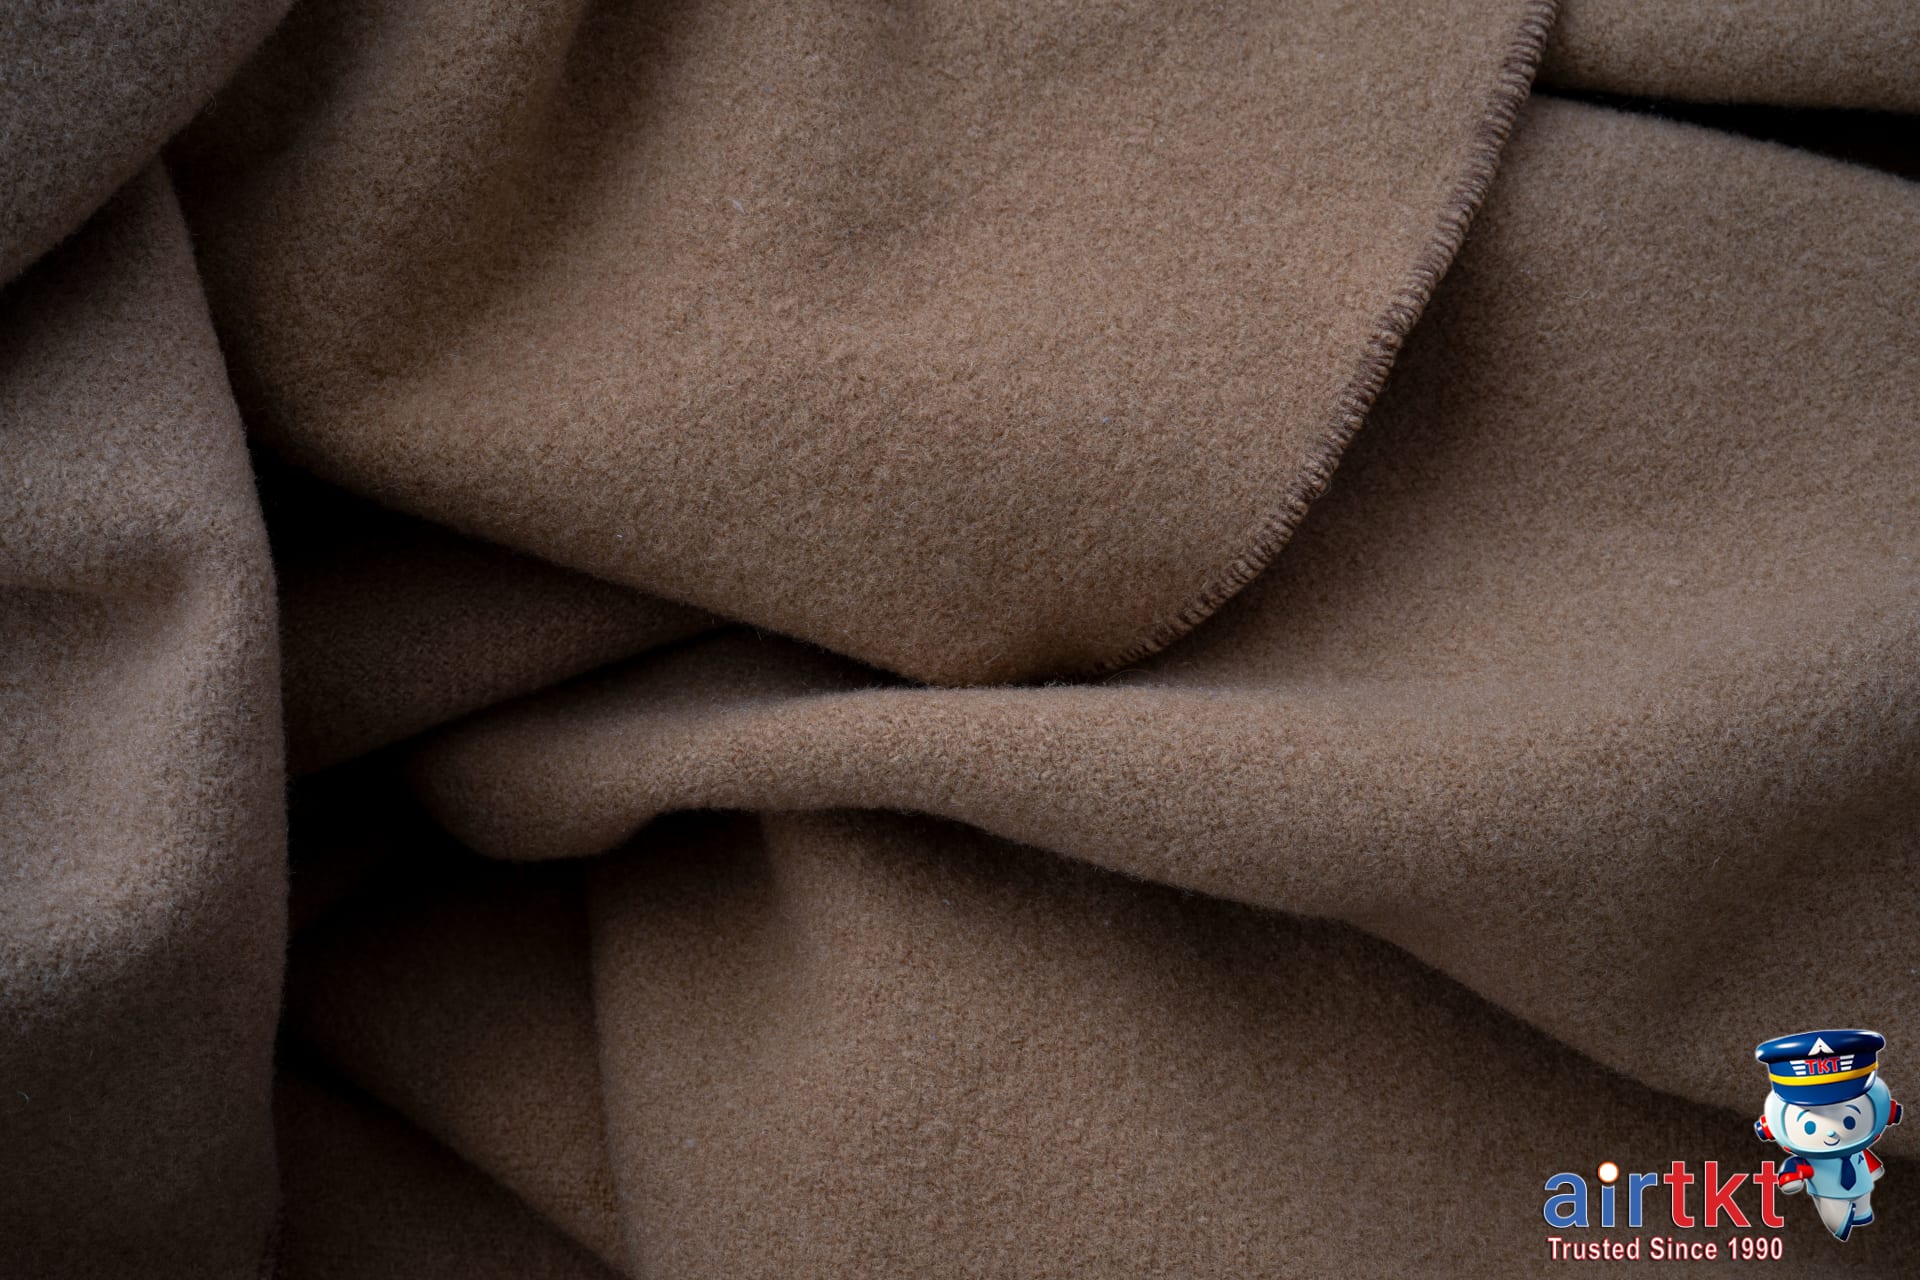
Wool, Fleece, and Synthetics
Wool (including merino wool) is widely regarded for its remarkable warmth, breathability, and ability to insulate even when damp. Merino, in particular, feels soft against the skin and doesn’t itch. I turn to merino wool for layering on cold days because it stays warm without feeling bulky, and it dries much faster than you’d expect from a natural fiber. Authoritative outdoor apparel guides from REI and Patagonia consistently highlight wool’s superior moisture management in challenging weather.
Fleece, a synthetic material (usually polyester), is prized for being lightweight, quick-drying, and warm. While it handles sweat or snow melt better than many natural fibers, it does allow wind to pass through—making it best as an insulating mid-layer rather than an outer shell. Fleece remains a favorite for active trips where mobility and quick drying really matter.
Synthetics like polyester and nylon are engineered for warmth, fast drying, and excellent durability. Many modern winter jackets and thermal underwear blend these fibers for optimal moisture wicking and flexibility. If you’re often on the move—think snowshoeing, hiking, or city exploring—these blends help keep you warm and dry, even when activity ramps up.
Cotton: What to Definitely Avoid
Cotton feels great in milder months, but it’s a dealbreaker in the cold. Cotton absorbs and retains moisture, drying extremely slowly. This leads to heat loss—making you colder once the fabric is wet with sweat or snow. Nearly every expert source, from the Appalachian Mountain Club to popular gear brands, cautions against cotton for winter activities.
Choosing Materials for Activities
If your trip involves lots of stops in chilly weather, opt for breathable, insulating layers like merino wool or fleece. For high-output activities (skiing, hiking, or snowboarding), prioritize fast-drying synthetics or performance-blended wool for base and mid-layers. If you’re planning a winter trip, I’d recommend reading our clothing guide for winter travel to help you choose the best fabric for your itinerary.
Layering for Snow Activities

If you’re heading out for a day of skiing, snowboarding, or winter hiking, your approach to layering needs to dial up both flexibility and breathability. Staying comfortable during high-energy cold weather activities means thinking beyond your everyday winter outfit—sweat and snow both come into play. When I ski, I add an extra mid-layer to stay warm throughout long days outside, since activity gets interrupted by chairlift rides and breaks that can cool you down fast.
Choose Fabrics With Movement
For snow sports, opt for base layers made of moisture-wicking fabrics like merino wool or technical synthetics. These pull sweat away from your skin so you don’t get chilled when you stop moving. For your mid-layer, choose something insulating but not bulky—think a lightweight fleece or synthetic insulated jacket. On really cold days, I’d consider adding a second thin fleece or vest. All layers should allow your arms and legs to move freely, especially if you plan to navigate tricky trails or slopes.
Breathable, Weatherproof Outer Shells
Your outer shell is what stands between you and wind, wet snow, or sudden squalls. A waterproof, breathable jacket (like those with Gore-Tex or a similar membrane) is key. Experts from the American Alpine Institute recommend avoiding fully insulated jackets for active snow sports and instead focusing on shells—this lets excess heat and moisture escape, which keeps you dry and warm during exertion. Pants should follow the same principle, with ventilation zips for hiking or skiing uphill.
Layer Smart for Different Activities
Winter hiking often requires more venting, while snowboarding and skiing may need more insulation between runs. The trick is to stay warm but not steamy. I usually pack an extra light mid-layer in my backpack, and I check weather changes at every break. If you’re just starting out, there’s more layering guidance in the winter sports travel essentials guide from airtkt.com.
Packing Cold-Weather Accessories Smartly

When traveling to colder destinations, it’s tempting to focus on big coats, but the real secret to comfort lies in the details. Small cold-weather accessories—like thermal socks, scarves, gloves, knit hats, moisture-wicking neck gaiters, and hand warmers—make a noticeable difference on the go. I always pack two pairs of thermal socks for backup and extra warmth; that habit has saved my feet more than once in frigid airports or long outdoor waits.
You’ll also want to add touchscreen gloves if you use your phone for maps or photos. A compact, lightweight beanie can add warmth without taking up much room. Travel-sized packets of hand warmers tuck easily into your daypack or pockets—perfect for long sightseeing days or chilly trains. As recommended by cold-weather travel pros like Lonely Planet and Adventure Alan, layering accessories lets you adjust to rapidly changing conditions without bulk.
Why Compression Socks Help
Compression socks are a game-changer, especially for long flights or train rides in cold climates. Beyond keeping your feet warm, they improve circulation—helping prevent that sluggish, achy feeling that can hit after sitting for hours. I’d choose a pair made specifically for travel, since the right level of compression delivers comfort without being too tight inside winter boots.
Efficient Storage in Your Carry-On
It’s easy for little items to get lost at the bottom of a bag. I recommend using a small zip pouch or packing cube just for your winter accessories. Roll scarves and gloves together and stack thermal socks along the edge so you can grab what you need without unpacking everything. Hand warmers can be kept in an easy-access outer pocket. If you’re planning your packing strategy, you’ll find more detailed tips in our packing list and accessory guide.
Lightweight vs Heavy Winter Layers
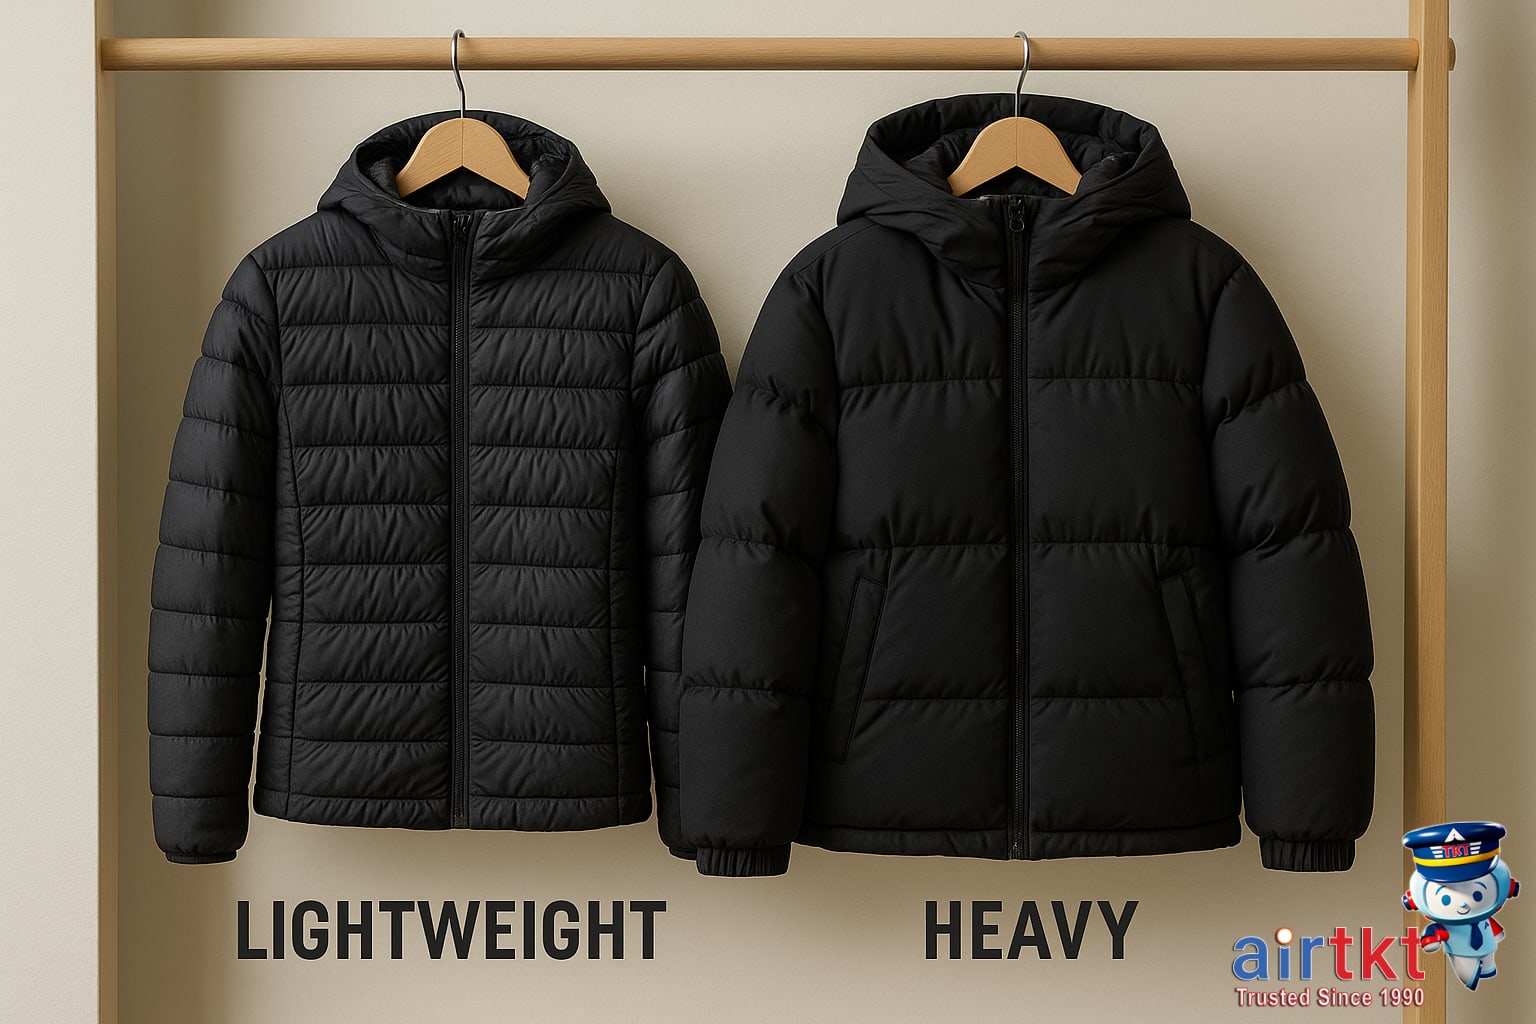
Deciding between a lightweight down jacket and a heavy parka can make or break your comfort on a cold-weather trip. Each option has its clear strengths. Lightweight down jackets pack small, are easy to stow in your carry-on, and adapt well for activities where you’ll be moving in and out of doors. On the other hand, heavy parkas excel in frigid climates and keep you warm during prolonged exposure to biting winds or waiting at a wintry bus stop.
I prefer lightweight down layers on most trips because they balance comfort and ease—you can wear them under a shell or over sweaters, and you’re not stuck sweating when you walk into a cafe. Heavier parkas can become unwieldy indoors and are awkward to manage if you’re dealing with changing weather or hopping between museums and markets. The American Alpine Institute and outdoor gear reviewers often note that “modular layering,” which means bringing lighter outer and mid-layers, gives travelers more flexibility for both active and sightseeing days.
When To Choose Each Layer
If your itinerary is mostly city-based with frequent indoor stops, a lightweight insulated jacket backed by a shell will keep you warmer and dry without bulk. In contrast, if your travels center around outdoor pursuits or you expect consistently freezing days, a heavy parka’s maximum warmth will serve you well. For unpredictable weather—like late autumn in Europe or early spring in North America—being able to shed or add layers is vital. You’ll find more detailed advice in our practical layering guide.
From my experience, travelers often regret packing a single heavy layer because it’s tough to adapt throughout the day. Combining a down jacket with a merino base and a windproof shell lets you mix and match as the weather demands, rather than committing to one bulky option.
Airport Packing Tips For Winter Gear

Managing winter coats, boots, and accessories at the airport can easily become a headache—especially if you’re trying to keep your suitcase within airline limits. In my experience, I always wear my bulkiest jacket through security to save luggage space. Not only does this keep my carry-on lighter, but it also frees up room for other essentials.
Packing Strategies For Bulky Items
If you’re traveling with extra winter gear like hats, gloves, or thick scarves, consider packing them in clear, resealable bags. This simple trick speeds up the TSA screening process and makes it easy to pull items out if security asks. I’d also recommend rolling your clothing rather than folding—it helps minimize space while keeping things organized and accessible.
Understanding TSA’s Winter Gear Policies
Based on current official TSA guidelines, most winter gear (like boots, coats, and cold weather accessories) is allowed in both carry-on and checked bags. However, oversized coats and boots may need to be removed at screening. Small hand warmers are permitted, but check for any restrictions on gel or liquid-filled versions before packing.
Wearing Your Winter Layers
Since security lines can get long, I typically layer up before entering the checkpoint. Once you reach the conveyor belt, you’ll be asked to place heavy coats and boots in a tray, so it’s smart to slip them off in advance. Anything with extra zippers, metal snaps, or large pockets should be emptied and separated for easier screening.
If you want more practical tips for winter travel prep, the winter airport packing tips section at airtkt.com is a worthwhile read.
Winter Packing Costs By Travel Tier
Knowing your travel style—and what it costs—can make a real difference when preparing for a winter getaway. In my experience, setting a budget from the start helps me decide whether to prioritize thermal base layers or splash out on something like heated gloves. Below, I’ve put together a realistic winter destination budget table with clear tiers to give you a sense of what to expect, based on data from snow-prone destinations in North America and Europe.
| Budget | Mid-range | Luxury | |
|---|---|---|---|
| Accommodation | $35.00 | $100.00 | $325.00 |
| Food | $15.00 | $45.00 | $110.00 |
| Transport | $10.00 | $35.00 | $95.00 |
| Activities | $20.00 | $60.00 | $180.00 |
This breakdown covers daily costs per person. For budget travelers, a hostel bed in a snowy city and transit by local bus might be all you need, while luxury seekers often choose full-service ski resorts with private transfers and guided activities. If you’re looking for ways to stretch your dollar further, I’d also suggest checking airtkt.com’s budget travel guides for destination-specific advice and trip planning resources.
Common Winter Packing FAQs Answered
- What are the most common winter packing mistakes?
One of the biggest mistakes is overpacking bulky sweaters instead of choosing versatile layering pieces. Another frequent error is forgetting accessories like gloves, hats, or moisture-wicking socks. I’ve learned to double-check my packing list so I never overlook those small but essential extras for staying warm and dry.
- Which fabrics work best for winter packing?
Merino wool and synthetic blends are top choices because they insulate well, wick moisture, and dry faster than cotton. Down is great for outer layers due to its warmth-to-weight ratio. I usually avoid cotton entirely for winter travel since it loses insulation when damp from sweat or snow.
- How should I layer for unpredictable winter weather?
Start with a moisture-wicking base layer, add an insulating mid-layer like fleece or wool, and finish with a windproof, waterproof shell. This way, you can adjust your clothing as conditions change and regulate your temperature as you move from indoors to outdoors.
- What should I do if my winter gear gets wet?
Remove the wet gear as soon as possible and hang it to air dry in a ventilated space. Avoid direct heat sources that can damage technical fabrics or down. For small items like gloves, I sometimes use hotel hairdryers cautiously to speed up drying when I’m in a pinch.
- Are there ways to save space when winter packing?
Compression bags help reduce the volume of bulky jackets and fleeces in your suitcase. Wear your heaviest coat and boots on travel days. Rolling socks and thermal layers inside shoes also frees up space for other essentials. I’d compare packing cubes with compression bags to see what works better for your gear.
- What are the essentials I shouldn’t leave out of my winter packing list?
Gloves, a hat, a warm scarf, and moisture-wicking thermal underwear are essentials I always include. Don’t forget sunscreen and sunglasses, since snow glare can be intense. A compact travel umbrella or a waterproof shell also makes a big difference when dealing with slush or unexpected snow showers.
- How do I wash winter layers or technical gear during a trip?
If you need to wash merino, down, or synthetic items, use a gentle detergent and cold water. I hand-wash small layers in a sink and gently squeeze—never wring—them before laying flat to dry. Avoid fabric softener, which can reduce the effectiveness of technical gear or waterproof coatings.
Personally, reviewing FAQs like these before packing has helped me dodge both overpacking and underdressing mistakes on winter trips. If you need a step-by-step gear rundown for your cold-weather getaway, check out our detailed winter packing checklist for more ideas and practical tips.
Final Winter Packing Insights
As you wrap up your winter travel prep, remember that how you pack really does shape the way you experience cold-weather destinations. Strong layering, picking warm but versatile clothing, and prioritizing essential accessories like gloves and waterproof boots can make all the difference. I’ve noticed firsthand that smart packing decisions not only keep me comfortable, but let me enjoy snowy adventures without feeling weighed down by excess baggage.
Packing efficiently is about choosing items that mix and match, keeping your suitcase light while ensuring you’re ready for changing conditions. Before you zip up your bag, check the local weather forecast for your exact destination and dates. This small step can help you leave behind what you don’t need and bring along what you’ll really use—whether more thermal layers or a packable umbrella.
If you’re planning a winter getaway and looking to stretch your travel budget further, take a look at the latest seasonal flight deals on airtkt.com. Exploring destination-specific savings might help free up more funds for gear or extra experiences on your trip, no matter where the snow might take you this year.