Why Smart Packing is Essential for Backpacking Trips
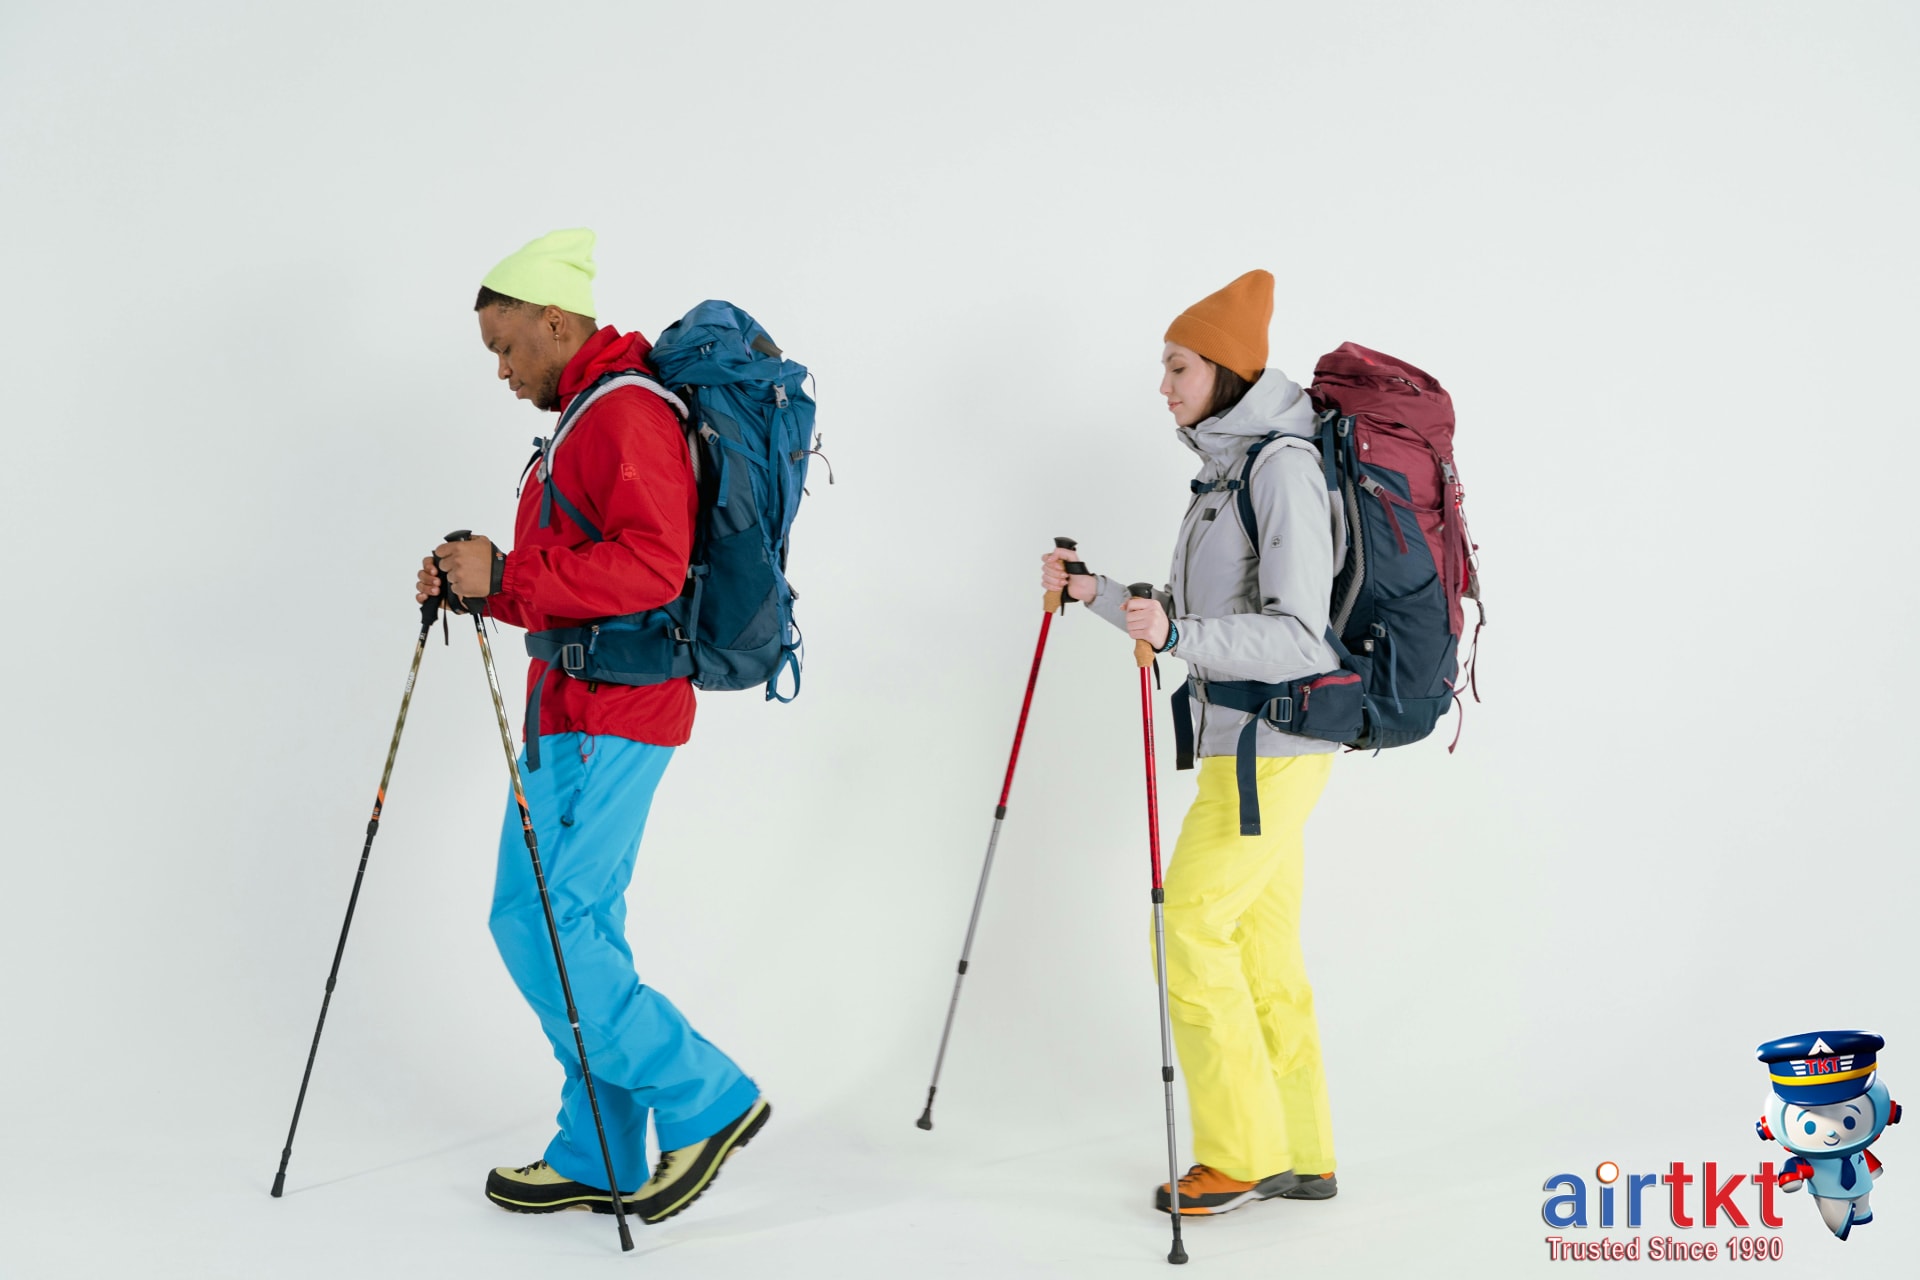
Backpacking is a travel style that demands more than just throwing items into a bag. It presents unique physical and logistical challenges that set it apart from typical vacations. Carrying your belongings on your back, often across varied terrain and through multiple modes of transportation, requires careful planning and an emphasis on packing light. Every extra pound can affect your comfort, speed, and endurance during the trip.
Efficient packing is critical for maintaining mobility. A well-organized backpack helps distribute weight evenly, reducing strain on your body and allowing you to move freely without fatigue. Moreover, staying organized enhances safety—avoiding overpacking prevents injury risk and makes access to essential items quick and hassle-free. Smart packing also ensures you can adapt swiftly to changing weather or travel conditions without carrying unnecessary bulk.
Even for backpackers, understanding TSA regulations plays an important role. Airports enforce carry-on and checked baggage rules strictly, so being TSA-compliant saves you from delays at security checkpoints or unexpected fees. Packing with these restrictions in mind from the start helps streamline your airport experience, whether you’re flying internationally or domestically.
This guide will walk you through creating a customized checklist tailored to backpacking needs, choosing gear wisely based on weight and functionality, ensuring TSA compliance, mastering space and weight management, and avoiding common packing mistakes that can ruin a trip. These practical strategies will not only make your journey more comfortable but also more enjoyable, economical, and stress-free.
AirTtkt is committed to making your travel experience smoother from start to finish. By mastering smart packing, you’ll maximize your adventure potential and minimize the hassle—allowing you to focus on what matters most: discovering new places and creating memorable experiences.
Comprehensive Backpacking Gear Checklist and Quantities
Preparing for a backpacking trip requires more than just throwing a few items into your pack. This detailed checklist breaks down essential gear by category, recommended quantities based on trip length and weather conditions, and trusted brand options across budget tiers. With an emphasis on durable, multi-use gear, this guide helps you pack efficiently without sacrificing safety or comfort.
| Category | Item | Recommended Quantity | Economy Brand | Mid-Range Brand | Premium Brand | Notes on Durability & Use |
|---|---|---|---|---|---|---|
| Clothing | Base Layers (shirts, underwear) | 2–3 sets (rotate daily) | Uniqlo | Patagonia | Arc’teryx | Choose moisture-wicking, quick-dry fabrics for comfort and odor control |
| Insulating Layer (fleece/jacket) | 1 piece | REI Co-op | The North Face | Mountain Hardwear | Look for lightweight, compressible, and warm options | |
| Outer Shell (waterproof jacket) | 1 piece | Columbia | Marmot | Patagonia | Durable, breathable waterproofing prolongs gear life and improves weather resistance | |
| Socks | 3–4 pairs | Darn Tough | Smartwool | Icebreaker | Merino wool blends reduce blisters and keep feet dry | |
| Shelter | Tent | 1 (with rainfly) | Kelty | REI Co-op | Big Agnes | Lightweight, easy-to-set-up, and multi-season models save weight and adapt to conditions |
| Sleeping Bag | 1 (appropriate to season) | Sleepingo | Marmot | Western Mountaineering | Down fill offers warmth-to-weight efficiency; synthetic excels in damp environments | |
| Sleeping Pad | 1 | Therm-a-Rest Z Lite | Sea to Summit | Therm-a-Rest NeoAir | Insulated pads improve comfort and ground insulation | |
| Cooking Supplies | Backpacking Stove | 1 | MSR PocketRocket | Jetboil | Snow Peak | Multi-fuel stoves offer versatility, but lightweight gas-only models are simpler |
| Cookware Set | 1 set | GSI Outdoors | MSR | Snow Peak | Use nested pots and pans to save space and weight | |
| Utensils (spork/knife) | 1 set | Light My Fire | Titanium spork | Sea to Summit Titanium | Durable and lightweight to reduce pack load | |
| Fuel Canisters | 1–2 (depends on trip length) | MSR | Jetboil | Snow Peak | Carry extras if cooking multiple meals; check weight for trade-offs | |
| Hygiene | Biodegradable Soap | 1 small bottle | Sea to Summit | Dr. Bronner’s | REI Co-op | Gentle on skin and environment-friendly |
| Quick-Dry Towel | 1 small | Decathlon | Sea to Summit | PackTowl | Compact and lightweight for easy drying and packability | |
| Toothbrush & Paste | 1 each | Colgate Travel | Cascade | Biotene | Small and travel-friendly packaging saves space | |
| Emergency Gear | First Aid Kit | 1 compact kit | Adventure Medical Kits | REI Co-op | SOS Tech | Choose compact kits with essentials plus blister care |
| Headlamp | 1 | Petzl Tikkina | Black Diamond | Petzl Actik | Rechargeable options offer reliability and longer runtimes | |
| Multi-tool | 1 | Gerber | Leatherman | Victorinox | A versatile tool can serve multiple functions, saving space |
When selecting gear, prioritize items that serve multiple purposes—for example, a jacket that doubles as a windbreaker and rain shell, or cookware that nests to save space. Durable construction ensures your gear withstands rough trail conditions, avoiding costly replacements mid-trip. Adjust quantities according to trip length: for a 3-5 day journey, stick to the minimum quantities listed above, but extend clothing and fuel supplies for longer adventures or colder climates.
Space-Saving Packing Techniques
Packing efficiently is key to hassle-free travel, especially when relying on a backpack for your journey. To optimize space and reduce frustration, begin your packing with a clear plan prioritizing accessibility. Place frequently used items like snacks, maps, or rain gear at the very top for quick retrieval without unpacking everything.
Start by rolling clothes instead of folding them. Rolling minimizes creases and maximizes space, allowing more items to fit compactly. Compression sacks are essential for bulky gear such as sleeping bags and jackets; these sacks expel air and shrink the volume dramatically. For instance, a bulky down jacket can be compressed to nearly half its size, freeing up precious room.
Packing cubes take organization to the next level. By grouping similar items—shirts, underwear, electronics—you keep your backpack orderly, maintain balance, and speed up finding what you need. These cubes also provide structure, preventing clothes from shifting during travel.

Visual comparisons show rolled clothes occupy less footprint and fit more snugly inside any compartment compared to folded stacks that leave awkward gaps. Use this technique especially for t-shirts, pants, and lighter fabrics.
Bulky items require special handling. For sleeping bags, try rolling and then stuffing them into compression sacks instead of folding. For jackets, flatten them and tightly roll while squeezing out as much air as possible. Layer these compressed items at the bottom of your pack to maintain weight balance and lower center of gravity, improving comfort on the trail.
Logical grouping isn’t just about tidy packing—it’s about quick access and better weight distribution. Keep heavier items closer to your back and centered, while lighter or less crucial pieces go toward the edges. Reserve exterior pockets for small essentials to avoid digging through your pack.
TSA Compliance Tips for Backpacking Travelers
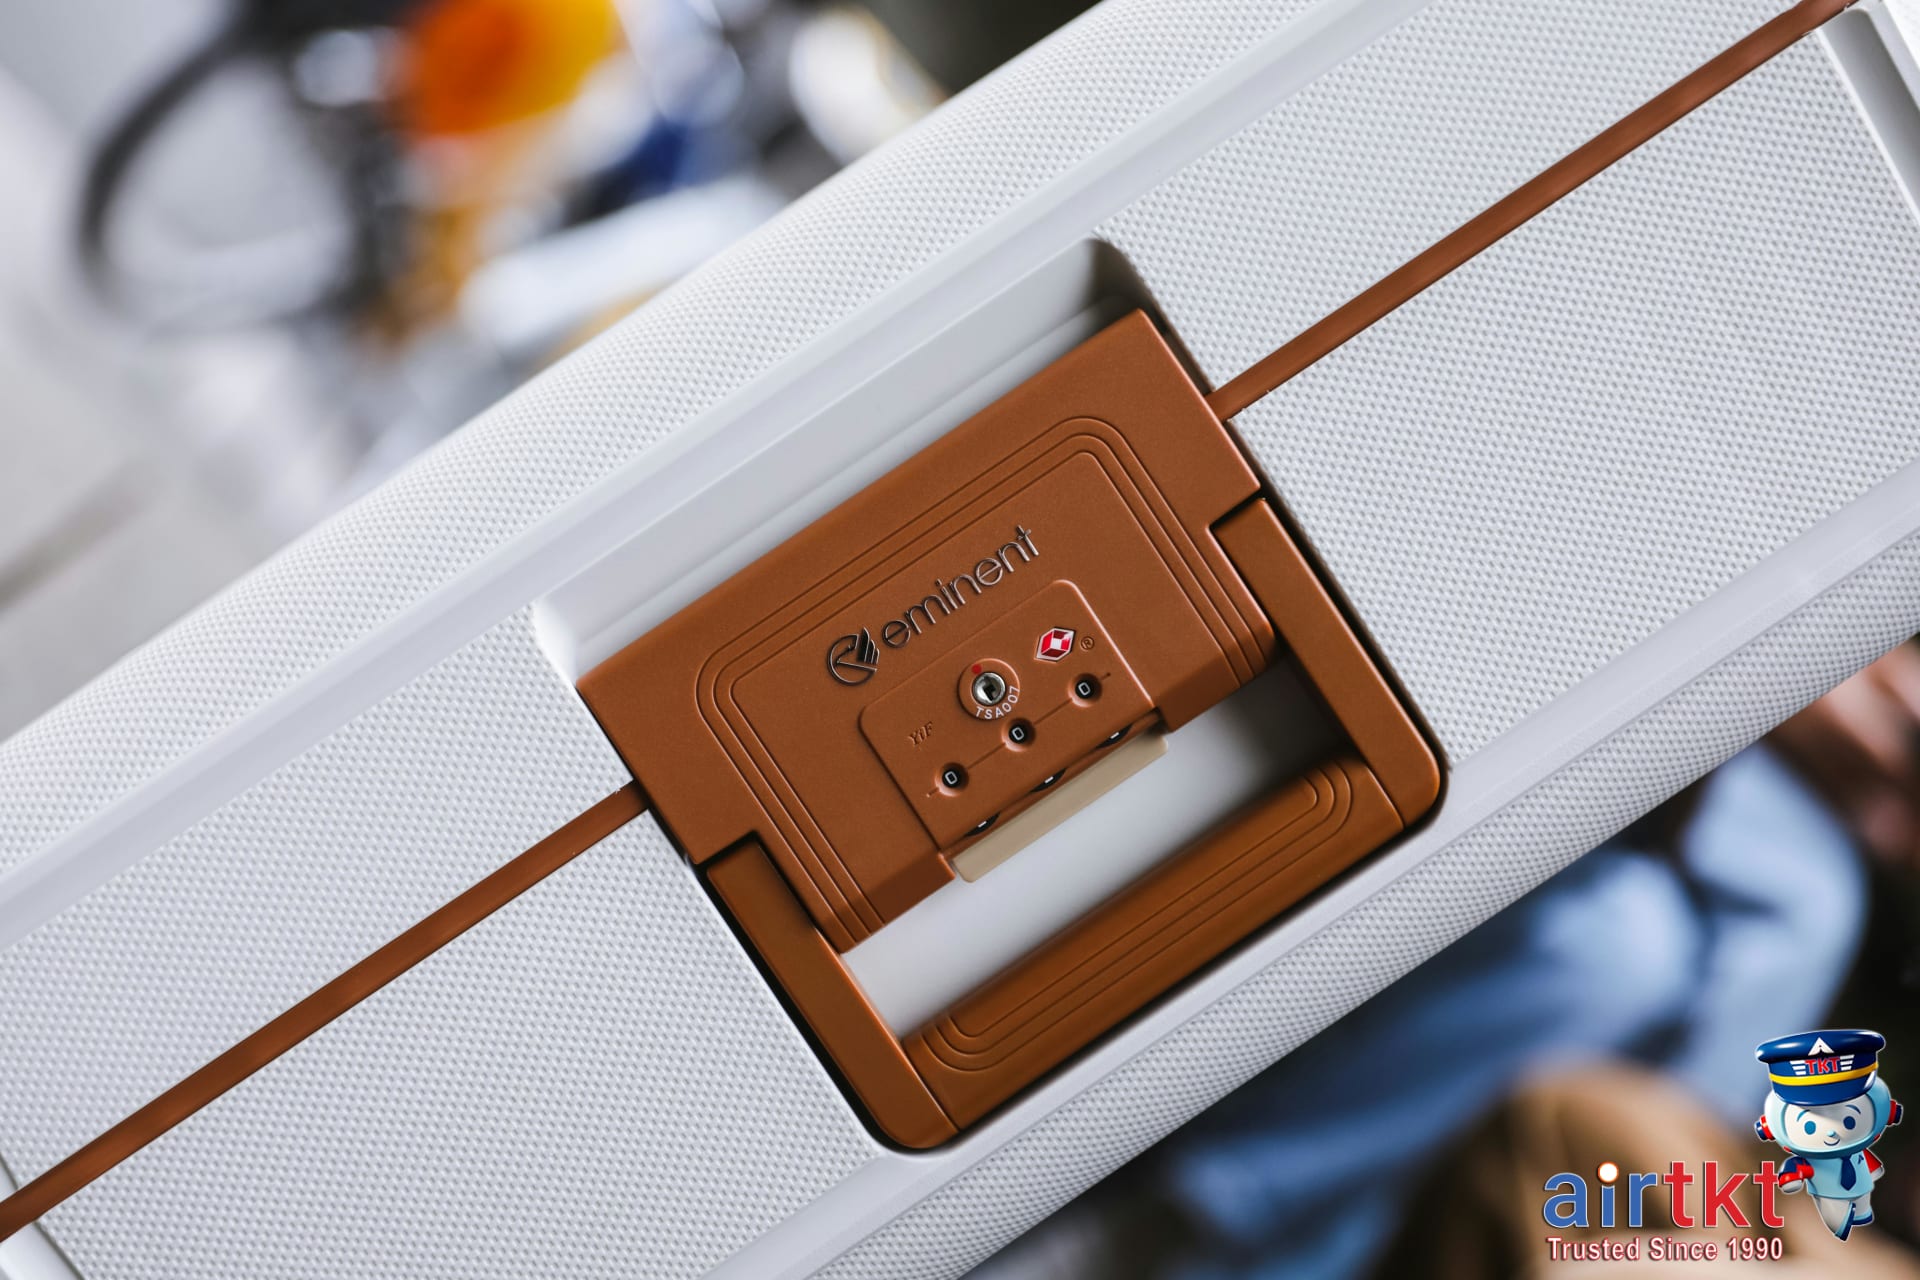
Traveling light with a backpack involves navigating TSA’s latest carry-on regulations carefully. As of 2026, the Transportation Security Administration continues to enforce strict rules to enhance passenger safety while streamlining the screening process. Backpackers must be mindful of what they pack in their carry-ons to prevent delays and confiscations during security checks.
Key prohibited items remain consistent, including sharp objects, flammable materials, and most sports equipment. However, recent updates emphasize restrictions on battery-powered devices and ensure travelers understand how to handle electronics like power banks and drones. Always verify your backpack contents against official TSA and FAA listings before you travel.
Manage Liquids, Aerosols, and Gels
The TSA’s 3-1-1 liquids rule still applies strictly to backpackers. You can carry liquids, gels, and aerosols in containers no larger than 3.4 ounces (100 milliliters) each, all fitting comfortably inside one clear, quart-sized, resealable bag. This applies regardless of travel duration, so even multi-day trips require adherence to this rule. Large sunscreen sprays, insect repellent, and deodorants must follow the same size limits or be packed in checked luggage.
Example checklist for TSA-approved toiletry packing:
- One quart-sized zip bag with travel-sized shampoo, conditioner, body wash, toothpaste, and moisturizer.
- Solid alternatives like bar shampoo or deodorant can bypass liquid restrictions.
- Medications and baby formula are exempt but should be declared at screening.
Pack Electronics and Food Carefully
Backpackers should place all large electronics — laptops, tablets, cameras — in separate bins for X-ray screening unless the TSA PreCheck program is active. Smaller devices such as phones or e-readers can stay inside your backpack but be easily accessible. Power banks and batteries must be carried on, never checked, and should be packed to avoid short circuit risks.
Regarding food, TSA permits solid foods inside backpacks but prohibits liquids or gels in excess of the 3.4-ounce limit. Pack snacks in clear containers or original packaging to speed inspection. Avoid foods that may trigger alarms or require additional inspection, like large quantities of powders or fresh produce under import restrictions.
Recent TSA Rule Changes for Backpackers
New in 2026, TSA introduced stricter scrutiny on rechargeable lithium batteries due to fire hazards. Airlines now enforce tighter watt-hour limits and quantity caps, crucial for hikers carrying multiple devices. Additionally, TSA has improved automated screening technology, meaning backpacks packed neatly with isolated electronics and compliant liquids pass through faster.
Common TSA Screening Mistakes to Avoid
- Packing liquids over 3.4 ounces without declaring them, causing confiscation and delays.
- Failing to remove laptops and large electronics from your backpack unless using TSA PreCheck.
- Bringing prohibited sharp items or tools that appear in common hiking gear.
- Incorrectly packing batteries or power banks in checked luggage.
- Overstuffing backpacks so TSA agents must unpack them manually.
Weight Distribution Strategies for Comfortable Hiking
Proper weight distribution in your backpack is essential for reducing strain and improving comfort during long hikes. Biomechanically, carrying weight close to your body’s natural center of gravity—the area just above your hips—minimizes muscle fatigue and joint stress. When heavy items sit near your spine and centered on your hips, it helps you maintain balance and reduces the risk of injury.
Start by placing your heaviest gear, such as water reservoirs, food supplies, and cooking equipment, closest to your back and near the middle to lower part of your backpack. This not only stabilizes your load but also allows your hips, which can support more weight, to bear most of the load instead of your shoulders.

Lighter, less bulky items such as clothing, toiletries, and sleeping bags should be packed in outer pockets or in the top and bottom compartments. This setup prevents your pack from feeling top-heavy or unbalanced, which can cause fatigue and poor posture.
Proper strap adjustments are critical for ergonomic support and load stability. Adjust your hip belt so it fits snugly around your pelvis, transferring the pack’s weight to your hips and away from your shoulders. Shoulder straps should be tightened to pull the pack close to your upper back without restricting arm movement or causing shoulder discomfort. Don’t forget to use the load lifters, small straps that angle the pack inward toward your torso, which improve balance and reduce sway.
Weight Distribution Checklist:
- Do pack heavy items close to your back near your center of gravity.
- Do use hip belts to transfer weight to your pelvis.
- Do adjust shoulder straps to stabilize without tightness.
- Don’t overload the top or outer areas with heavy gear.
- Don’t leave straps loose, causing the pack to swing.
- Don’t ignore discomfort signals—readjust your pack as needed.
By following these weight distribution strategies and adjustment tips, you can hike longer with less fatigue and a lower risk of injury. For savvy travelers seeking the best gear and travel deals to complement your adventures, AirTtkt offers reliable booking options and helpful resources.
Common Packing Mistakes Backpackers Should Avoid
Packing efficiently is essential for a smooth backpacking trip. One of the most frequent mistakes is overpacking. Many travelers cram their backpacks with unnecessary items, resulting in heavy loads that slow you down and cause fatigue. Instead, focus on essentials: a well-packed backpack weighs less and leaves room for souvenirs or last-minute gear. For example, a typical overpacked backpack might include multiple pairs of shoes, bulky clothing, and redundant gadgets. A well-packed alternative pares down to versatile clothing, compact electronics, and lightweight gear optimized for your itinerary.
Ignoring weather conditions is another common error. Weather can be unpredictable, and failing to prepare can leave you uncomfortable or stranded. Create a weather preparedness checklist: pack layers that are easy to add or remove, including moisture-wicking base layers, insulating mid-layers, and a waterproof outer shell. Rain gear is a must-have, even if forecasts look clear—it can make a drastic difference in damp or cooler climates. This approach ensures you’re ready for sudden temperature shifts and precipitation without carrying excess bulk.
Backpackers also often stumble on TSA regulations. Oversights such as carrying liquids over 3.4 ounces, forgetting to pack identification, or mishandling prohibited items cause delays during security checks. To avoid these pitfalls, organize liquid items in a clear quart-sized bag, keep your boarding pass and ID within easy reach, and familiarize yourself with TSA rules before leaving. This preparation speeds up security screening and reduces travel stress.
Organizational mishaps exacerbate packing problems. Poorly placed items can lead to frantic digging for essentials at inconvenient moments, increasing anxiety and wasting time. Implement practical tips like using packing cubes or compression bags to separate clothing, electronics, and toiletries. Keep frequently used items at the top or in external pockets, so you can access them quickly without unpacking the entire bag. Such methods maintain order and streamline your travel experience.
Lastly, develop a habit of reviewing and revising your packing list after each trip. Reflect on what items you didn’t use or what you wished you’d brought. Continual refinement helps you pack smarter for future journeys, minimizing weight and maximizing convenience.
Backpacking Packing FAQ
How to choose backpacking gear based on trip length and budget?
Focus on lightweight, multipurpose items for short trips to keep costs low and pack light. For longer trips, invest in durable gear with comfort features. Prioritize essentials like a reliable backpack, sleeping bag, and versatile clothing, balancing quality with affordability to maximize value and usability.
What is the best way to comply with TSA rules when backpacking?
Pack liquids in containers of 3.4 ounces (100 ml) or less, placed in a clear quart-sized bag. Keep electronics and liquids accessible for screening. Avoid sharp objects and check prohibited items before travel to ensure smooth security checks without delays or confiscations.
When should I start packing for a backpacking trip?
Begin packing at least a week in advance to avoid last-minute stress. This gives you time to check your gear, adjust for weather, and test your backpack’s weight. Early preparation helps spot forgotten essentials and ensure everything fits comfortably for your trip.
Why is weight distribution important for backpacking comfort?
Proper weight distribution prevents muscle strain and back pain by balancing heavy items close to your spine and near the center of your back. This improves stability and reduces fatigue on long hikes, allowing you to carry your pack comfortably over varied terrain.
Can I carry liquids and food safely in my backpack on flights?
Yes, but liquids must follow TSA’s 3-1-1 rule: containers no larger than 3.4 ounces in a single quart-sized bag. Pack non-perishable, TSA-approved snacks securely to avoid mess or spoilage. Always check airline-specific restrictions to prevent surprises at the airport.
How to avoid common packing mistakes for outdoor trips?
Don’t overpack—stick to essentials. Test your loaded backpack beforehand for comfort. Waterproof your gear and keep valuables accessible. Avoid packing non-multipurpose items that add unnecessary weight. Planning and organizing reduces surprises and improves your overall trip experience.
What brands offer reliable yet affordable backpacking equipment?
Brands like REI Co-op, Osprey, and Kelty provide quality gear at reasonable prices. For budget options, consider Teton Sports and Coleman, which combine durability with affordability. Always check reviews and warranty policies to ensure your investment lasts through many adventures.
Final Thoughts and Smart Packing Takeaways
Successful backpacking hinges on meticulous packing guided by a solid checklist. Prioritize essentials like versatile clothing, compact toiletries, and durable footwear. Remember brand-recommended gear that balances quality and weight, and adhere to TSA guidelines to avoid airport hiccups. Space-saving techniques such as rolling clothes and utilizing packing cubes, alongside weight-conscious strategies, can significantly improve your experience on the trail.
Smart packing isn’t just about fitting everything into your bag; it directly enhances your mobility, comfort, and security during your journey. A well-packed backpack feels lighter, easier to carry, and ensures you have quick access to important items. Staying organized minimizes stress and maximizes enjoyment, allowing you to focus on the adventure ahead rather than fumbling through your gear.
Each trip is unique, so adapt your packing list based on anticipated weather, trip length, and personal preferences. Whether you’re heading to a rainy forest or a sunny mountain range, thoughtful customization makes a big difference. Consider layering options for fluctuating temperatures and packing multi-use items that save space without sacrificing function.
For more expert travel tips, destination guides, and affordable options to plan your adventures, explore AirTtkt. Their user-friendly platform offers competitive rates for flights, hotels, and car rentals, backed by reliable customer support. Make AirTtkt your travel companion to streamline booking and enjoy every step of your trip with confidence.