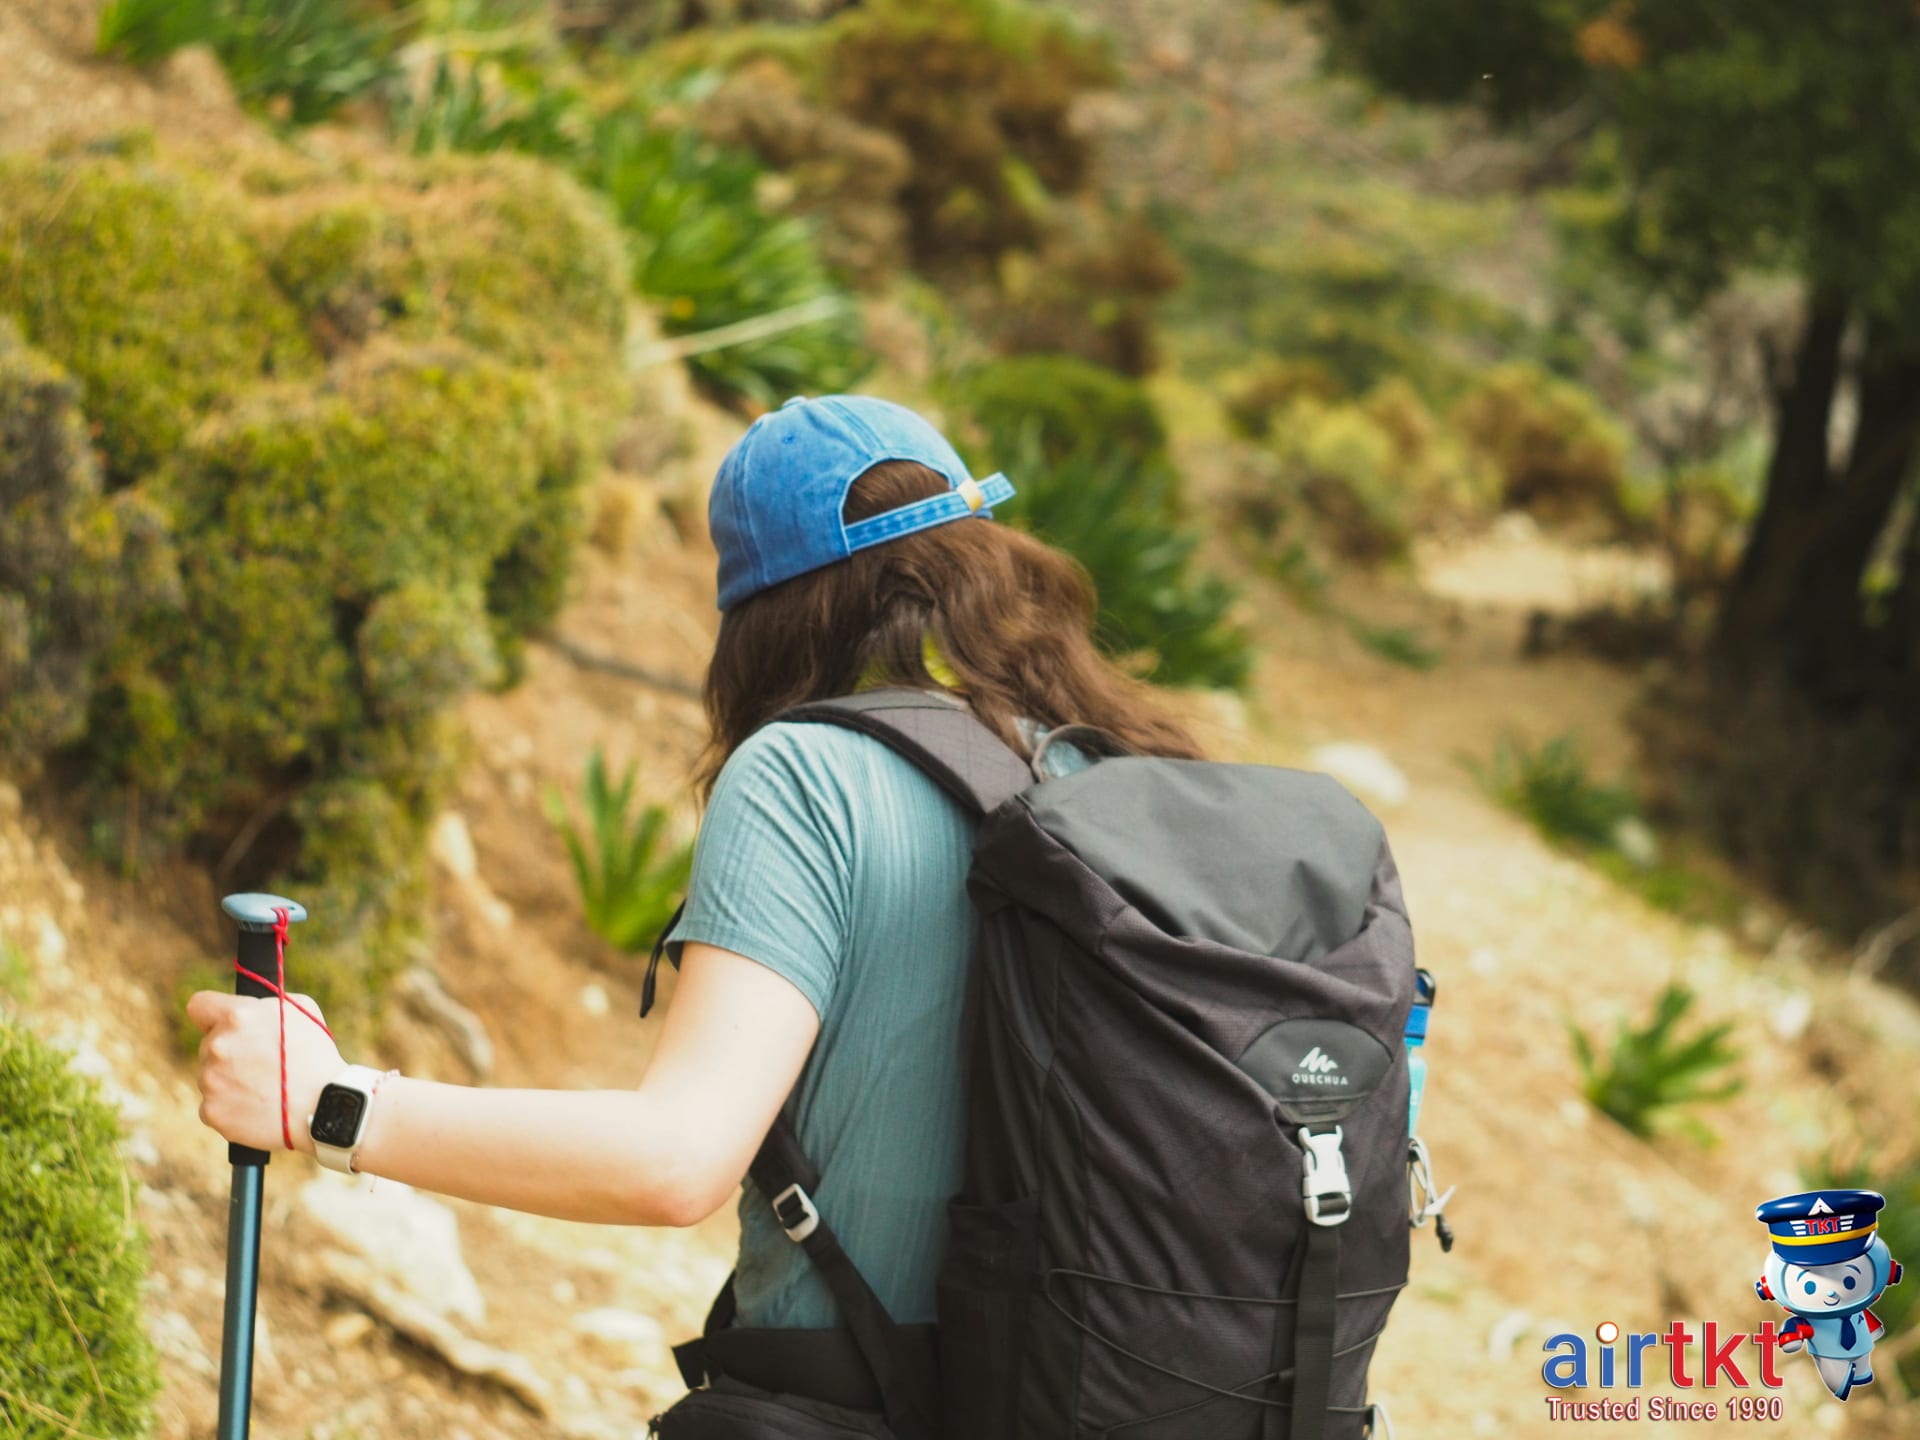
Pack Smart for Hiking Boots Break-in
Breaking in hiking boots is a crucial process that demands specialized packing strategies, especially when traveling. Unlike casual footwear, hiking boots require careful attention to maintain comfort, protect their structure, and ensure an effective break-in period. Poor packing can lead to discomfort, damage to your boots, or lengthen the time needed to adjust to new hiking footwear.
Travelers face several challenges packing hiking boots. Space limitations in luggage make it tricky to accommodate bulky items, while strict TSA regulations on carry-on bags require thoughtful preparation. Additionally, maintaining the boots’ condition—preventing scuffs, deformation, or dirt transfer—adds complexity to packing. These factors make it essential to balance convenience, compliance, and boot care in your travel gear.
This article will guide you through all critical aspects of smart packing for breaking in hiking boots during travel. You’ll discover the essential items to pack alongside your boots to facilitate comfort and protection. We’ll cover proven packing strategies to save space and maintain boot shape, and detail how to navigate TSA compliance without sacrificing your gear’s safety.
Proper weight distribution in your luggage is another key focus. Carrying heavy boots requires balancing your suitcase to avoid strain or damage to other items. Finally, we’ll explore common mistakes travelers make that can undermine the break-in process, including packing boots improperly, overlooking necessary accessories, or ignoring airport security rules.
By preparing your hiking boots with the right knowledge and tools, you’ll ensure a smoother transition into comfortable, well-broken-in footwear when you hit the trail. For a seamless travel experience paired with expert flight booking options, don’t forget to check AirTtkt for affordable flight deals and hassle-free reservations.
Essential Items for Hiking Boots Break-in
Breaking in hiking boots properly requires more than just wearing them around; having the right gear ensures comfort and helps prevent blisters or soreness. Here’s a detailed checklist of essential items, including recommended quantities and brand suggestions across various budgets to suit your hiking trip length and comfort needs.
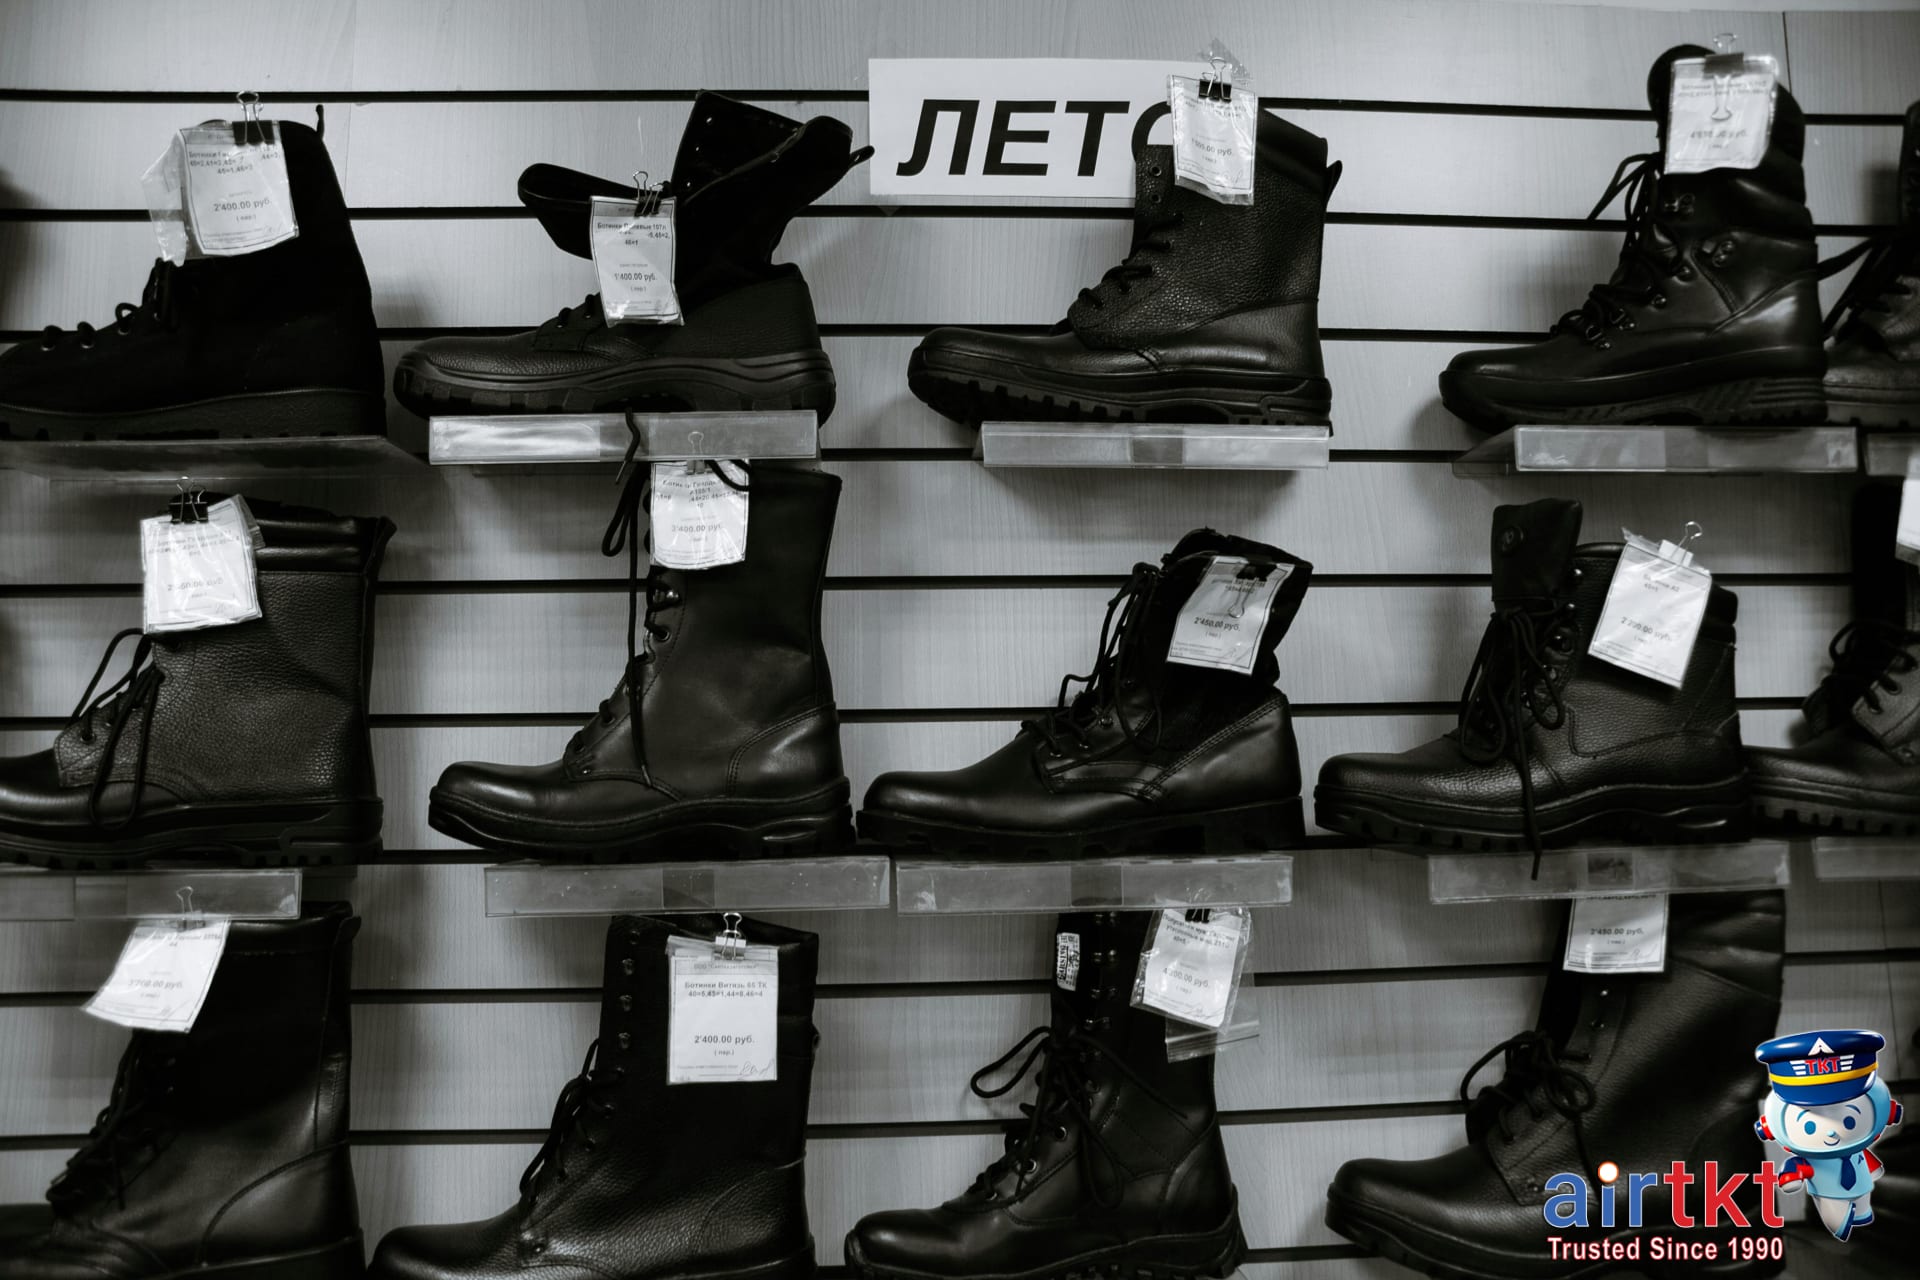
1. Hiking Boots
Your boots are the cornerstone of a successful break-in. Choose boots that fit well but allow some room for foot swelling. For shorter trips, one pair of boots is sufficient. For extended hikes, consider bringing lightweight camp shoes to give your feet a break.
- Budget: Merrell Moab 3 – reliable and affordable
- Mid-range: Salomon X Ultra 4 Mid GTX – great all-around support and waterproofing
- Premium: La Sportiva Nucleo High II GTX – high durability with excellent comfort
2. Socks: Wool and Synthetic Options
Socks are vital for moisture management and cushioning. It’s recommended to carry 1–2 pairs per hiking day. Wool socks like merino are excellent for regulating temperature and resisting odor, while synthetic socks wick moisture effectively and dry fast.
- Economical: REI Co-op Merino Wool Trail Crew Socks
- Mid-tier: Darn Tough Hiker Micro Crew Cushion Socks – durable with lifetime warranty
- Premium: Smartwool PhD Outdoor Socks – tailored fit with extra cushioning
3. Insoles for Added Comfort
Using insoles can improve fit and add extra support or cushioning. For most hikes, one pair of custom or high-quality insoles per pair of boots suffices. It’s helpful to bring a spare set if your trip exceeds a week.
- Budget-friendly: Dr. Scholl’s Plantar Fasciitis Pain Relief Orthotics
- Mid-range: Superfeet Green Insoles – solid arch support and durability
- Premium: Sidas Air 3 Feet Insoles – custom moldable and breathable
4. Lacing Aids and Accessories
Proper lacing prevents hotspots and uneven pressure during breaks-in. Lacing aids like lace locks or hooks help achieve a snug fit without restricting circulation. A pair of lace locks is usually sufficient for breaking in boots.
- Basic lace locks from outdoor stores
- Elastic or speed laces for easier adjustments
5. Waterproofing Sprays
Keeping boots waterproof helps maintain comfort during wet conditions. Apply waterproofing sprays before and during breaks-in, especially if the boots are leather or have a suede finish. Typical usage is one spray session before the trip and a touch-up mid-trip for messy weather.
- Economical: Kiwi Boot Waterproofer
- Mid-level: Nikwax Waterproofing Spray – water-based and eco-friendly
- Premium: Scotchgard Heavy Duty Water Shield
6. Foot Care Products
Protecting your feet during the break-in process prevents blisters and keeps skin healthy. Recommended items include blister prevention tape, foot balms, and quick-drying powders. Stock enough blister tape for daily use—about 1–2 strips per day depending on foot sensitivity.
- Compeed Blister Plasters
- Body Glide Original Anti-Chafe Balm
- Gold Bond Medicated Foot Powder
By assembling this essential kit with attention to your budget and hiking duration, you’ll break in your boots comfortably and confidently, minimizing foot issues as you navigate your trails.
Use Space-saving Techniques for Packing
Packing hiking boots efficiently requires more than just tossing them into your suitcase. These bulky essentials can consume valuable luggage space and introduce dirt if not packed carefully. By applying smart space-saving techniques and protective measures, you can maximize your luggage capacity and keep your gear organized and clean throughout your travels.
One of the most effective methods is rolling your socks tightly and stuffing them inside your hiking boots. This approach serves two purposes: it maintains the boot’s shape and significantly reduces wasted space. Socks act as cushioning, preventing the boots from collapsing and protecting the inside lining. Plus, it keeps your socks neatly packed and easy to access on arrival.
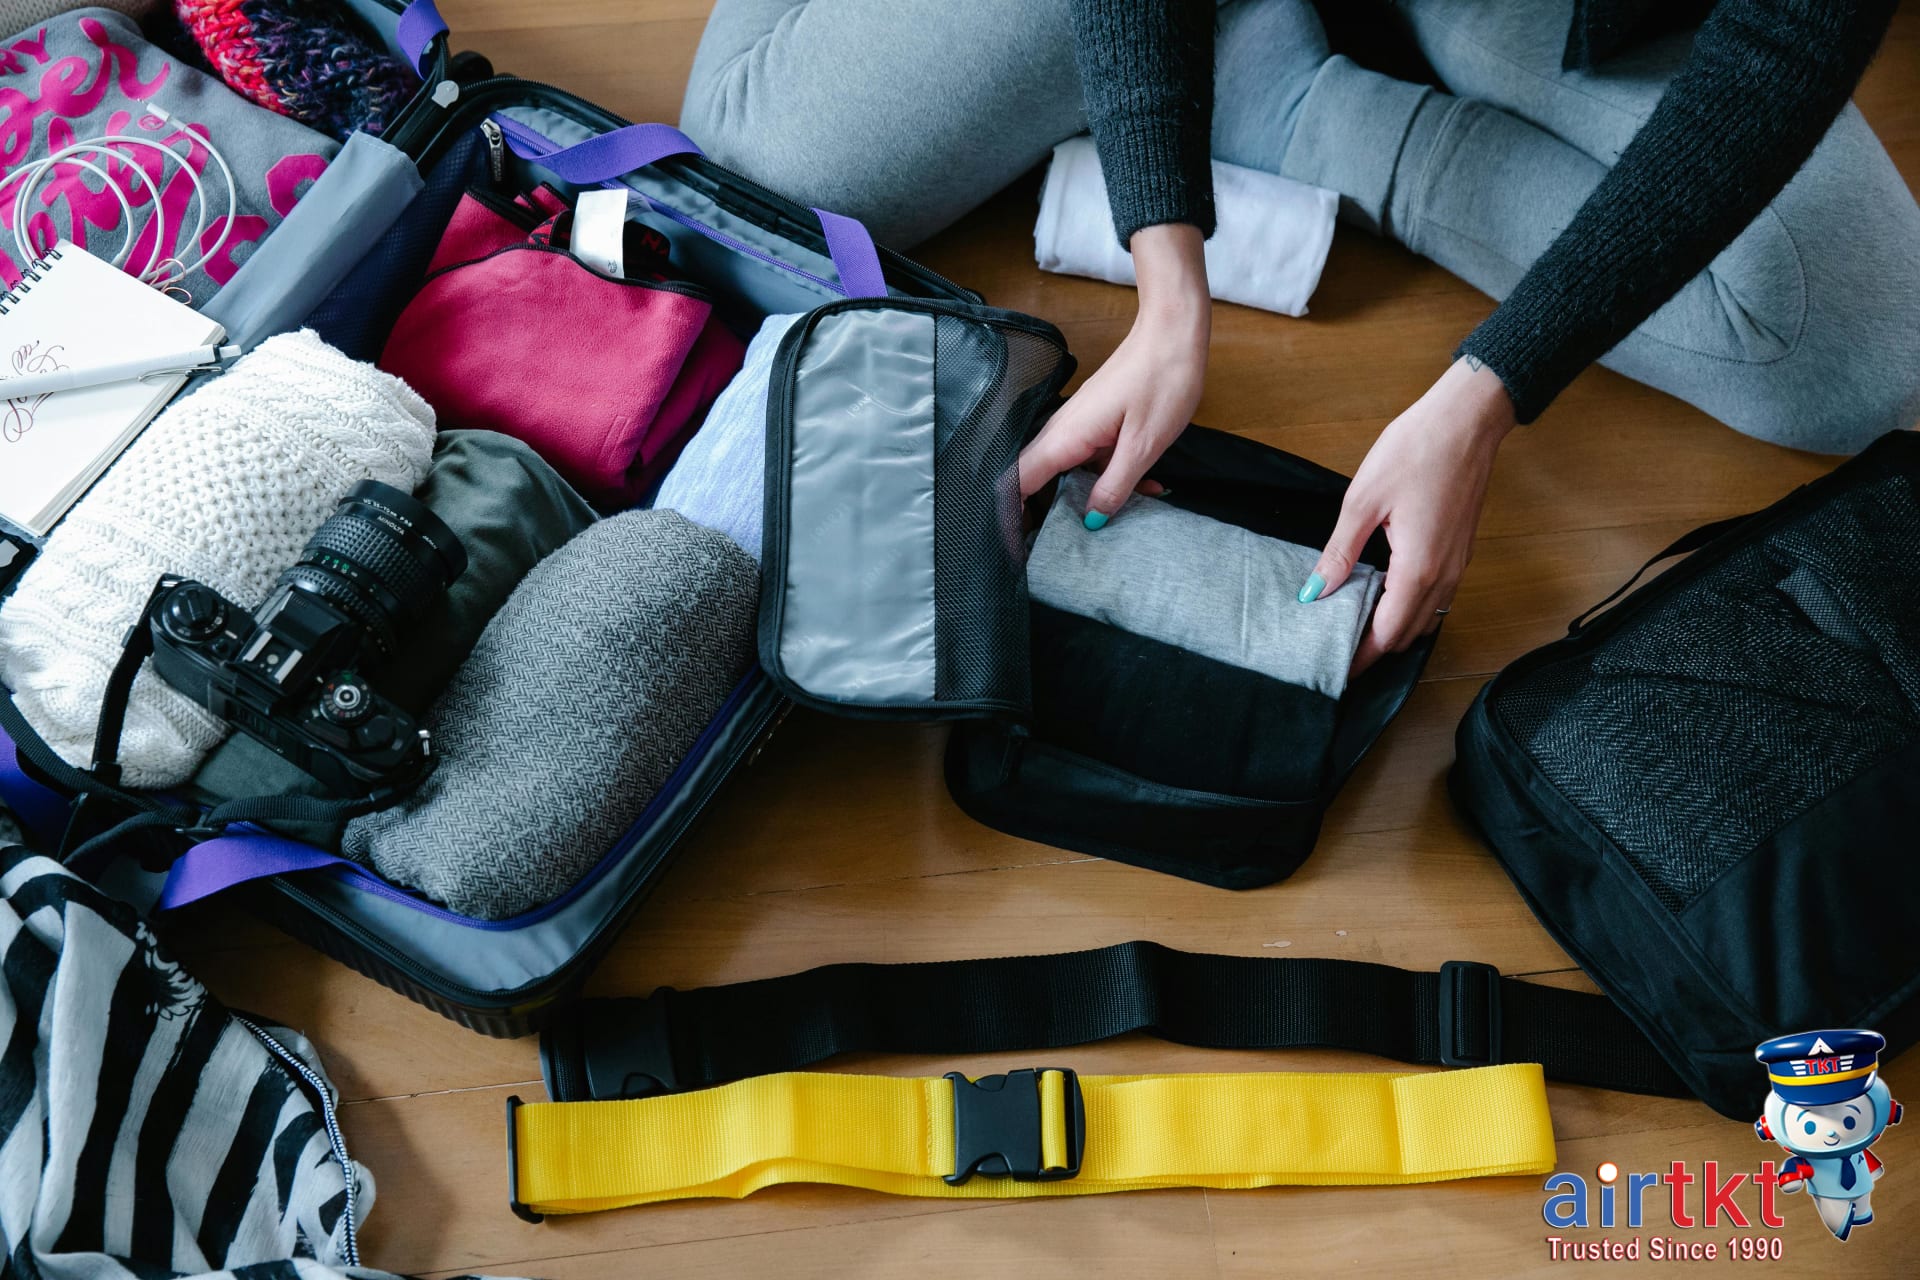
Packing cubes are invaluable for organization and space optimization. These compressible compartments allow you to group smaller items—socks, laces, gloves—and create compact bundles that fit precisely around your boots. When using cubes, aim for a combination of sizes to fit different gear types, which helps fill gaps inside your luggage more effectively.
Proper layering within your suitcase safeguards both your footwear and clothing. Place boots at the base or side of your bag, spaced apart to avoid imbalance. Use boot bags or lightweight, durable waterproof plastic covers to enclose each boot individually. These protect your clothes and other gear from dirt, moisture, and odor. Boot bags also make transferring shoes in and out of your luggage cleaner and simpler.
Choosing packing materials that are both lightweight and sturdy contributes to overall luggage efficiency. Durable nylon or polyester boot bags resist tearing and provide ventilation, which is helpful if boots are damp. Waterproof plastic covers prevent water or mud stains from leaking and allow easy cleanup. Avoid bulky or rigid containers that can eat up precious space.
Furthermore, preventing dirt and damage is essential not only for your belongings but also for hassle-free airport security checks. Separating dirty boots from clean clothing reduces the risk of soiling your pack and avoids extra laundry at your destination. It also helps maintain the longevity of your gear by minimizing abrasive contact between boots and other items.
By incorporating these space-saving and protective packing tips, you can travel lighter and more organized. Whether you’re trekking through mountains or exploring a new city, efficient boot packing ensures comfort and convenience from takeoff to touchdown.
Navigate TSA Rules for Traveling with Boots
When traveling with boots, understanding TSA footwear policies is essential to avoid delays at security checkpoints. Generally, the TSA requires passengers to remove all footwear during screening unless you have TSA PreCheck, which allows you to keep shoes on. Boots, especially larger or heavier types, must be taken off and placed in bins for X-ray inspection. This includes hiking boots, work boots, and fashion boots. Being prepared for this can streamline your checkpoint process.
To avoid holdups, consider wearing shoes that are easy to slip on and off. Footwear without complicated laces or multiple buckles reduces the hassle during security screening. For example, slip-on sneakers or loafers are TSA-friendly choices that save time compared to bulky boots requiring untying and tightening afterward.
Travelers often carry waterproof sprays, foot creams, or gels to care for their boots during trips. TSA liquid restrictions apply to these items—containers must be 3.4 ounces (100 milliliters) or smaller and fit comfortably within a single quart-sized clear plastic bag. Oversized sprays or creams should go into checked baggage to comply with regulations and prevent confiscation.
Properly packing sprays and gels is just as important. Make sure caps are tightly secured to avoid leaks, and place containers upright within a sealed plastic bag to contain any spills. This careful preparation ensures smooth passage through TSA and safeguards your belongings.
For the latest TSA footwear and liquid guidelines, always refer to official TSA resources. Staying updated with their regulations helps you plan your travel essentials confidently and avoid surprises at the security line.
Optimize Weight Distribution for Backpackers
Proper weight distribution is essential for backpackers to prevent soreness and fatigue during long hikes. An evenly balanced pack reduces strain on your back and shoulders, improving comfort and endurance. When it comes to packing hiking boots and break-in gear, strategic placement within your backpack can make a significant difference in how your load feels on the trail.
One of the best practices is to place your boots at the bottom of the backpack or secure them in outer compartments. Positioning boots low helps stabilize the center of gravity close to your hips, enhancing balance and reducing unnecessary swaying as you walk. Outer compartments keep bulky boots accessible while preventing them from crushing more delicate items inside the main compartment.
Use compression straps and padded compartments to stabilize and protect your boots. Compression straps tighten the load, keeping the boots from shifting and reducing movement that can cause discomfort or damage. Padded sections cushion your footwear, preserving the shape and extending the life of your boots, especially important when carrying break-in pairs prone to developing blisters or pressure points.
Be cautious about overpacking boots or multiple pairs of footwear. Carrying too many boots or heavy shoes adds unnecessary weight, which can quickly become unmanageable. Prioritize quality, well-broken-in boots over excessive spare pairs. If extra footwear is essential, select lightweight options like sandals or camp shoes to minimize additional load.
Adjust your backpack’s load as your trip progresses and your boots break in. As your footwear becomes more comfortable, you may be able to redistribute weight or reduce cushioning materials. Regularly reassessing your pack contents and arrangement helps maintain optimal ergonomics, ensuring that fatigue and discomfort do not accumulate over time.
For reliable travel support and tips before you head out, visit AirTtkt to find the best deals on flights and travel gear tailored to your adventure needs.
Avoid Common Hiking Boots Packing Mistakes
Packing hiking boots might seem straightforward, but common mistakes can lead to discomfort and travel delays. One frequent error is overpacking bulky boots alongside lighter footwear, which adds unnecessary weight and eats into your luggage space. Another is neglecting moisture control—wet or damp boots can cause bad odors and promote mold growth during your trip. Lastly, ignoring TSA guidelines for footwear can lead to unwanted security checks or delays at the airport.
Breaking in your hiking boots before you hit the trail is essential. New boots can cause blisters and foot pain if worn for the first time outdoors or during long walks while traveling. Aim to wear your boots around the house or go on short walks to soften materials and mold the fit to your feet. This simple preparation reduces discomfort and keeps your adventure smooth.
Managing dirty or wet boots while on the road also requires thought. Pack lightweight boot bags or waterproof sacks to isolate soiled footwear from clean clothes. Remove insoles and let your boots air dry thoroughly whenever possible. Using moisture-absorbing products like silica gel packs or newspaper can speed up drying. Keeping boots separated prevents spreading mud and odors inside your luggage.
Before you leave, take a moment to reassess your packing. Double-check that boots are clean, dry, and securely packed to avoid damage during transit. Consider whether you actually need multiple pairs or if a single, well-broken-in pair will suffice. This checklist approach streamlines your setup and lightens your load.
- Pitfall: Packing boots without moisture barriers — Solution: Use waterproof boot bags or plastic liners.
- Pitfall: Wearing new boots directly on hikes — Solution: Break in boots gradually at home.
- Pitfall: Overpacking multiple bulky boots — Solution: Choose versatile footwear to minimize weight.
- Pitfall: Forgetting TSA shoe removal rules — Solution: Pack boots that are easy to remove and replace during security screening.
By avoiding these common pitfalls and preparing your hiking boots thoughtfully, you can ensure greater comfort and smoother travel experiences. For affordable travel deals and expert support to complement your hiking adventures, explore AirTtkt today.
Hiking Boots Break-in Packing FAQ
How to pack hiking boots efficiently for break-in trips?
Pack your hiking boots in a sturdy shoe bag or wrap them in clothing to protect them and surrounding items. Position them at the bottom of your suitcase to balance weight, and use boot trees or crumpled paper inside to maintain shape during travel.
What is the best way to break in hiking boots before traveling?
Start wearing your hiking boots at home for several short sessions, gradually increasing duration. Walk on varied surfaces like pavement and grass to soften the materials and adapt to foot shape, preventing discomfort and blisters during your trip.
When should I start packing for a hiking boots break-in trip?
Begin packing at least a week before your trip to accommodate gradual boot break-in sessions. This schedule helps avoid last-minute stuffing and allows you to prepare essential foot care items alongside your boots for the journey.
Why is TSA compliance important when traveling with hiking boots?
TSA compliance ensures a smooth security screening process. Pack boots in a way that allows easy inspection without unpacking entirely, such as placing them in a separate bin. This minimizes delays and protects your gear during airport security checks.
Can I bring waterproof sprays on the plane for boots care?
Most waterproof sprays are allowed only in carry-on baggage if they meet TSA liquid rules—containers must be 3.4 ounces (100 ml) or less and fit in a quart-sized bag. Larger cans should be placed in checked luggage to avoid confiscation.
How can I protect my boots from damage in transit?
Secure boots by stuffing them with socks or tissue paper to keep their shape and cushioning. Use a shoe bag to prevent scuffing and pack them tightly among soft items to minimize movement and impact while en route.
Are there specific packing hacks for hiking boots on multi-destination trips?
Yes, consider packing lightweight boot liners to reduce bulk and space. Clean boots thoroughly between destinations to avoid transferring dirt or pests. Store boots in a separate bag for quick access during layovers or luggage checks.
Master Packing for Hiking Boots Break-in
Packing for a hiking trip where you plan to break in your boots requires careful thought and organization. Essential items like sturdy socks, blister care supplies, waterproof gaiters, and lightweight boot bags should never be overlooked. Efficient packing means incorporating space-saving strategies such as rolling clothes to minimize bulk and using compression bags to create room for all your gear.
Remember TSA compliance to avoid delays—place liquids in clear, resealable bags and keep sharp objects responsibly stored. Distributing weight evenly inside your luggage will not only protect your boots but also make your travel more comfortable. Avoid common mistakes like overpacking heavy tools or ignoring weather-appropriate clothing, which can add unnecessary strain or discomfort during your break-in hikes.
Proactive planning is key. Using checklists helps ensure you don’t forget critical items, allowing you to focus on the enjoyable parts of your trip. Preparing in advance will smooth the travel experience, helping your boots mold comfortably to your feet while you explore.
With AirTkt, you gain access to a wide variety of airlines and affordable fares tailored to your hiking destination, making travel planning effortless and budget-friendly. Our intuitive platform provides user-friendly tools like Lazy Fare for discovering inexpensive multi-stop routes and Flexible Date Search to pinpoint the cheapest travel days.
Benefit from real-time fare comparisons across over 470 airlines and 17,000+ airports worldwide, backed by 24/7 expert support for seamless booking assistance whenever you need it. Whether you’re a seasoned trekker or a first-time hiker, AirTkt equips you with everything needed to ensure your travel and boot break-in go smoothly from start to finish.